The cloud has made it easier to process large amount of data, and satellite imagery processing benefits from cloud processing too. One of the cloud services that offers access to satellite images, and abilities to process them in the cloud – no more need to download it to your computer and process it there – is Amazon Web Services. If you’ve never worked with cloud processing, getting started with AWS can be a bit daunting. This tutorial gives beginners an introduction to accessing satellite images – Landsat and Sentinel-2 – on AWS.
Introduction
Satellite images like Landsat and Sentinel-2 can be downloaded from tools from USGS and ESA, but in the last few years, they’ve also been made available in the cloud, on Amazon Web Services. Each day, new images are added to the databases on AWS. Users can download them from there, and some have reported that those downloads are faster than from the traditional tools. The images can also be processed on AWS, taking advantage of the power of cloud processing.
In this tutorial, we’ll get a first taste of Amazon Web Services, and we’ll download a Landsat and Sentinel-2 image. No need to know anything about Amazon web services, we’ll start from the beginning.
Setting up Amazon Web Services
You can sign up for a free account at https://aws.amazon.com/free/. If you’re just playing around with AWS, the amount you get in the free tier on AWS should be sufficient. When you’re signed up, go to the Amazon Console.
All Landsat and Sentinel-2 images are located on Amazon S3, which is the storage space of AWS. More information on Landsat on AWS, or Sentinel-2 on AWS, and on the companies that are responsible or supported making satellite data on AWS available, can be found on their respective project websites.
Ok, now that we know where to find them, how do you actually get to the images?
Configuring the interface and the user
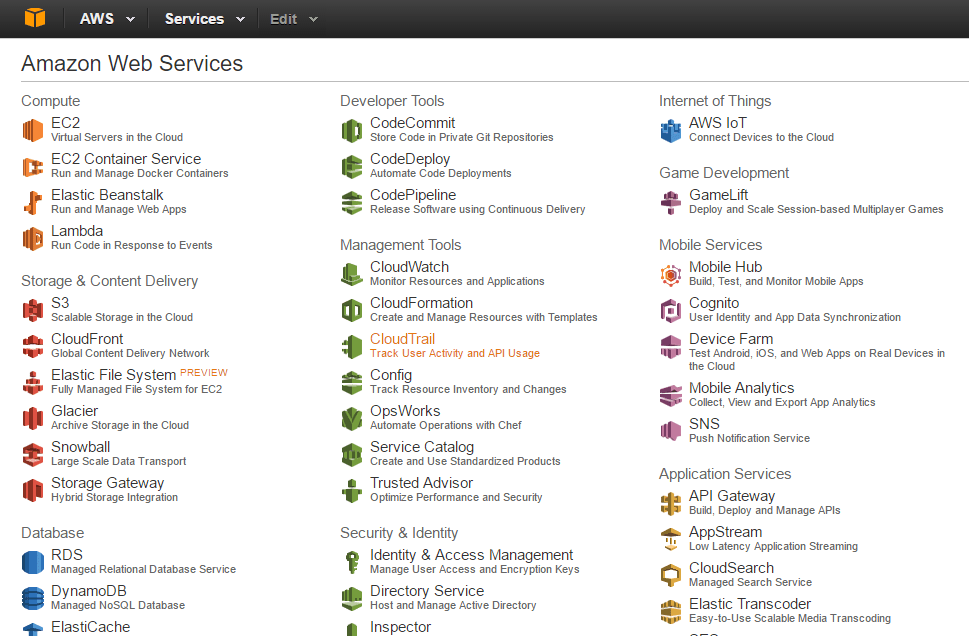
On your console (if you’ve logged into Amazon web services on your browser), go to the “Services” tab on top, Select “Security&Identity”, then “IAM”.
In the window pane on the right, go to “Users”. Click “Create a new user”. Make sure the check box to generate a new key is ticked. Click “Create”.
Your user credentials are then available for download. Make sure you download them, by clicking “Download credentials”. Click “Close”.
This is what Amazon says about those credentials you just downloaded:
” Your secret key will no longer be available through the AWS Management Console; you will have the only copy. Keep it confidential in order to protect your account, and never email it. Do not share it outside your organization, even if an inquiry appears to come from AWS or Amazon.com. No one who legitimately represents Amazon will ever ask you for your secret key.”
In order to get access to the open data on Amazon S3, change the permissions in the Management Console in your browser, under Services –> Security&Identity –> IAM. Then click on the name of your user, go to the Permissions tab, and “Attach policy”. There’s a policy called “AmazonEC2FullAccess”, and one called “AmazonS3FullAccess”. Tick the checkboxes next to these policies, then click “Attach”.

AWS Command Line Interface
We’re going to interact with Amazon Web Services through a command line tool. No worries, every line of code you’ll need will be explained here.
Install the Amazon command line. After installing, you may need to change the environment variables yourself, check http://docs.aws.amazon.com/cli/latest/userguide/installing.html for more information.
Open the Command Prompt (for Windows users) (in the Windows search bar, type “cmd” and press enter). Test the installation with the Command Prompt, by typing “aws help“. If you get an error message, saying “aws” is not a command, you have to update the Environment variables to include the path to the installation, which looks like C:\Program Files\Amazon\AWSCLI.
If you get a bunch of text, the Command Line Interface from AWS was installed correctly. Now, the command line tool for AWS access needs to be configured so you get access to your own tools on AWS.
Type aws configure in the command prompt.
It will then ask you for your access key ID. That’s the credentials you’ve created earlier.
Type the access key ID and press enter.
Same goes for the secret access key that belongs to that access key ID.
Type the secret access key and press enter.
For the region, use us-west-2. Press enter.
For output format, use json. Press enter.
Here’s the setup guide for the Command Line Interface, if you want some more background: http://docs.aws.amazon.com/cli/latest/userguide/cli-chap-getting-set-up.html
Landsat data on Amazon Web Services
We’re done with the boring bits, now we can check out the images.
In your command prompt, you can now to view the archive of Landsat data by typing this:
aws s3 ls landsat-pds
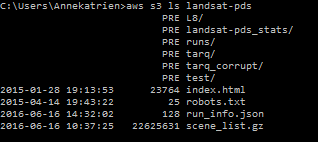
That’s the top of the file structure. To go deeper into the storage, and see separate images, you have to know what you’re looking for. The file structure is described on http://aws.amazon.com/public-data-sets/landsat/.
In general, the file structure looks like this:
- L8 (Landsat 8)
- path
- row
- image name
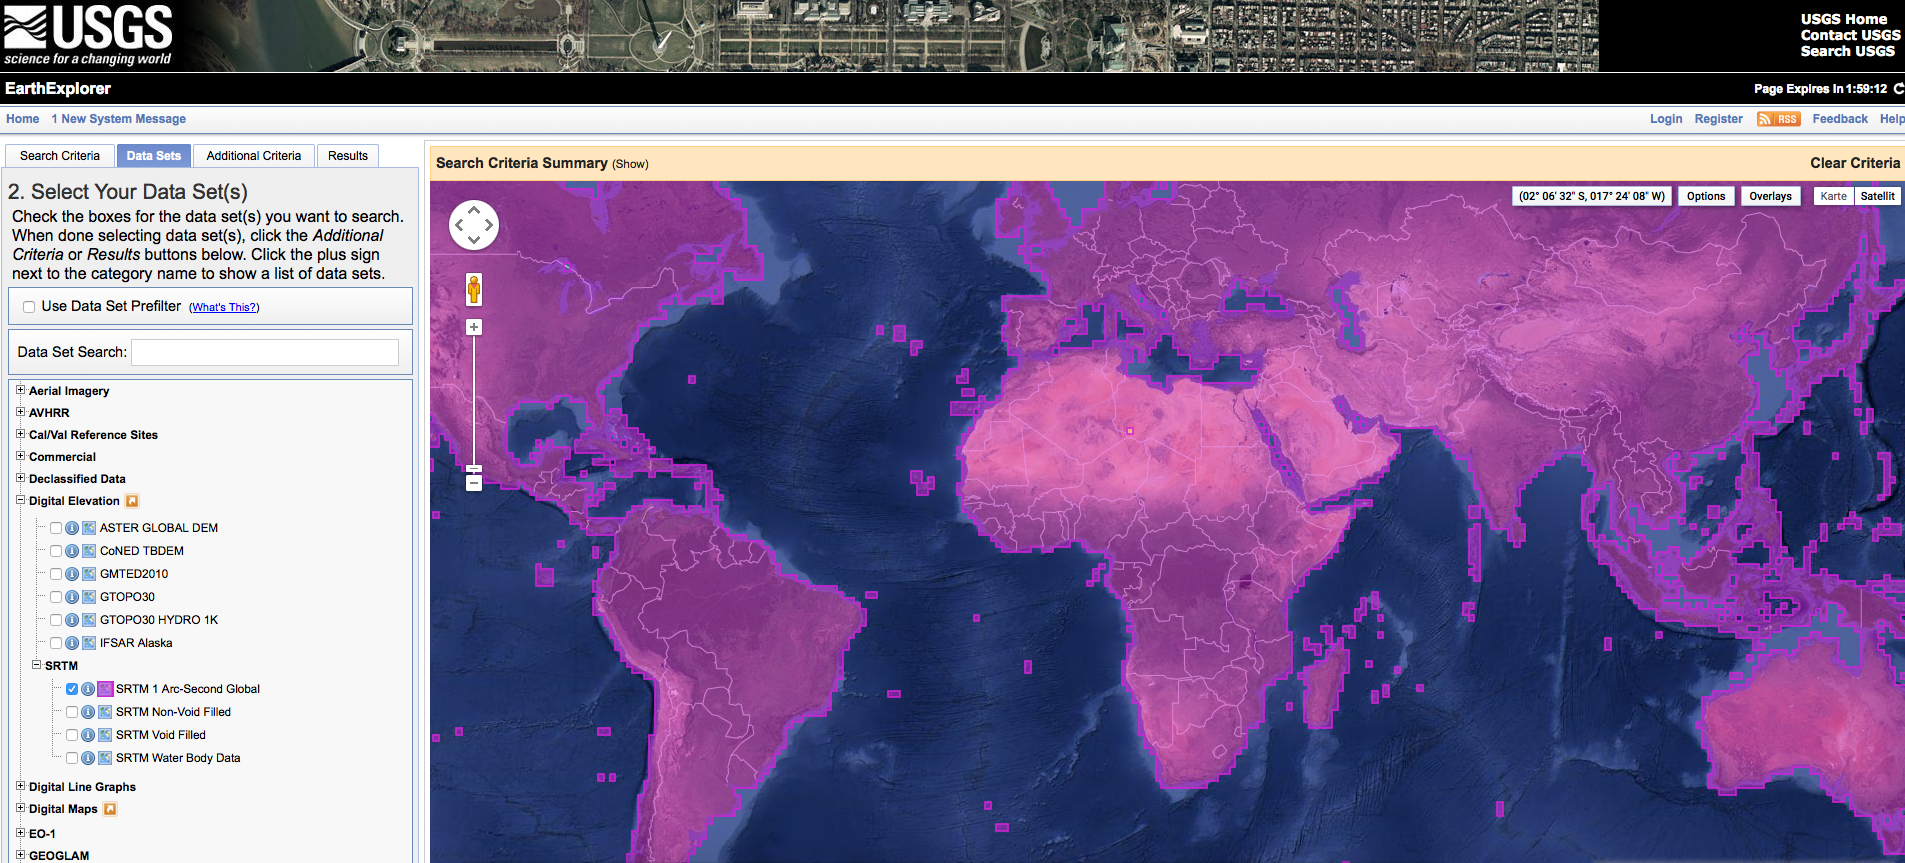
That makes browsing for an image difficult. As we’re just testing, I used https://libra.developmentseed.org/ to check for an image to download, and have chosen:
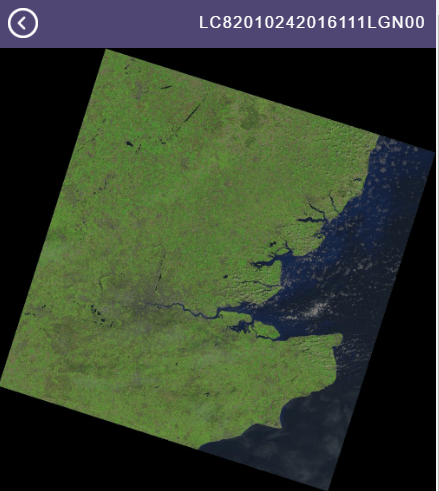
And then entered the following command in the command prompt, with the image name I found in the Libra browser:
aws s3 ls landsat-pds/L8/201/024/LC82010242016111LGN00/
This is a listing of the bands for this image.
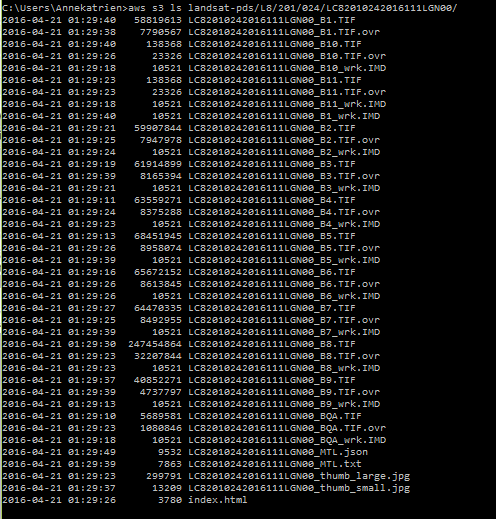
To download the image to your local computer, use the following command:
aws s3 cp s3://landsat-pds/L8/201/024/LC82010242016111LGN00/ /Users/Annekatrien/Documents/Data/ --recursive
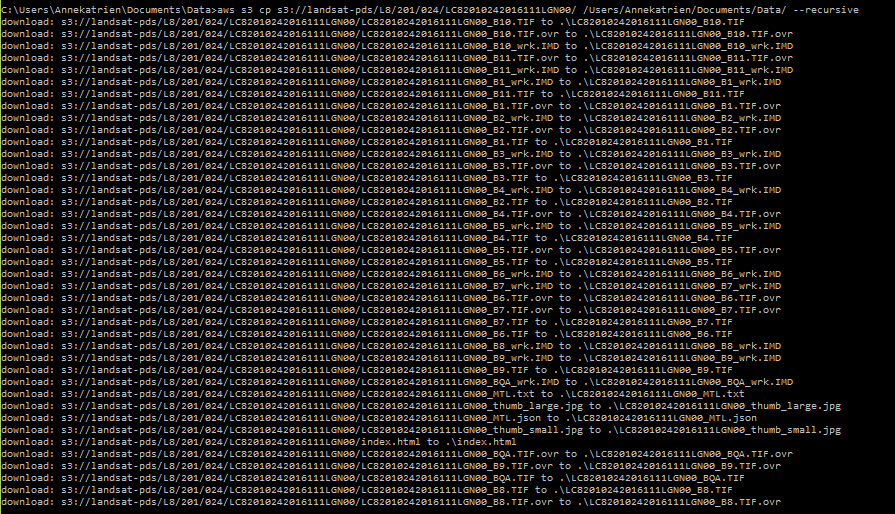
And there it is – you just download a Landsat image from Amazon Web Services!
Sentinel-2 data on Amazon Web Services
You can use the same procedure for Sentinel-2 data.
Make sure the Command Line tool of AWS is installed, configured, and your user has access to Amazon S3.
You have to change the region to match the region where the Sentinel data are stored:
Write aws configure in the command prompt.
Press enter the first two times – I assume those fields are already filled out from the previous exercise.
Write eu-central-1 as region, and press enter. This is because the Sentinel-2 data are stored on servers in Europe, while the Landsat data are stored on servers on the US West coast.
Press enter on the last entry.

Read up on the Data Structure of Sentinel-2 here: http://sentinel-pds.s3-website.eu-central-1.amazonaws.com/. You can download 100x100km tiles, instead of entire products, from AWS! Find the tile for your area of interest by downloading the KML file of the Military Grid here.
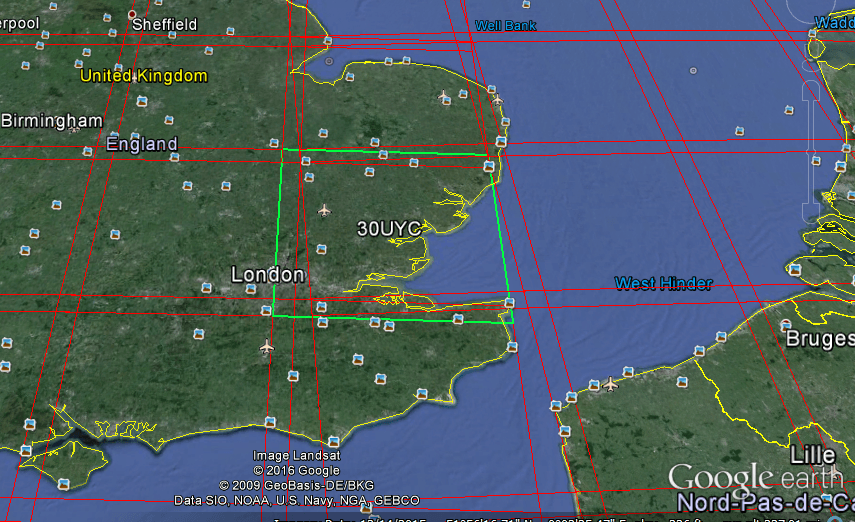
To get an overview of the file structure of the bucket, type aws s3 ls sentinel-s2-l1c in your command prompt.
You can either go to the Scientific data hub https://scihub.copernicus.eu/dhus/ to find the date of a good image for you, or list all the available images in the command prompt. For instance, I selected my tile of interest from the KML of the Military Grid, and then typed
aws s3 ls sentinel-s2-l1c/tiles/30/U/YC/2016/
in the command prompt, because I wanted to find a tile of Sentinel-2, in zone 30-U-YC, in 2016.
Make sure that the / is put behind your command, because the listing looks different with or without it!

Keep adding to the URL in your command, until you’ve reached the directory where all the bands are stored
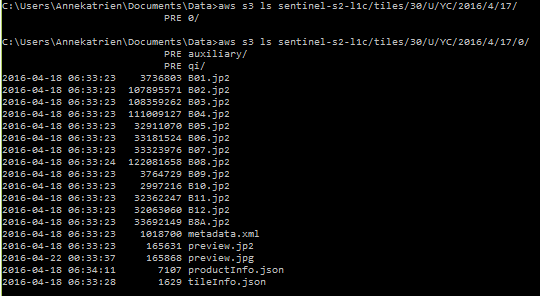
To download, you can use the same command as for Landsat:
aws s3 cp s3://[URL] [localpath] -- recursive
Mine ended up being:
aws s3 cp s3://sentinel-s2-l1c/tiles/30/U/YC/2016/4/17/0/ /Users/Annekatrien/Documents/Data/ --recursive
The method above is not the easiest, or fastest, to get a hold of Landsat and Sentinel-2 data. Other tools are more user-friendly. However, getting to know how to access open data on AWS will enable us to start processing it on AWS. Another benefit of this method is that you can bulk download images over your area of interest. For example, say I want all the Sentinel-2 images over a certain area, for 2015, I can just use this command:
aws s3 cp s3://sentinel-s2-l1c/tiles/30/U/YC/2015/ /Users/Annekatrien/Documents/Data/ --recursive
You’ll download all the available data then, however, you’ll have to weed out the ones with too much cloud cover after download, and you’ll have to sort them into a file structure on your computer, as they’ll all download to the same directory. Using AWS, we can preselect images with a sufficiently low cloud cover, but that’s something for a next tutorial.
Excellent, nice work!
Thanks Conor!
Yah, nice work! I haven’t thought of using the command line. Will try it now
Alternatively you can skip many of these steps (for Sentinel-2) by using Sentinel Hub WMS/WMTS/WCS service:
http://www.sentinel-hub.com/apps/wms
As S3 updated, the proper command to list landsat-pds is:
aws s3 ls s3://landsat-pds
Thank for the great blog!
hey! thank you for the info. I’m getting this prompt in the CLI: “An error occurred (AccessDenied) when calling the ListObjects operation: Access Denied”. am I doing something wrong?
Hi, thank you for this useful tutorial. I don’t know why i did everything you mentionned on your tutorial but get an error when :
An error occurred (AccessDenied) when calling the ListObjectsV2 operation: Access Denied
C:\Users\ankhili>aws configure
AWS Access Key ID [****************HNRC]:
AWS Secret Access Key [****************TLYk]:
Default region name [eu-central-1]:
Default output format [json]:
aws s3 ls sentinel-s2-l1c/tiles/51/K/VT/2019
Do you have any idea?
I have an aws free account, i create a user and attached the permissions AMAZONEC2FULLACCESS & AMAZONS3FULLACCESS.
Thank you