
Since most people working with digital-data they are always interested in obtaining their own data using a Global Positioning System (GPS). Therefore I’ll give a short introduction for all of you, using a GARMIN device and like to have a free background map on the screens. There’ll be also the possibility to make routings to certain addresses or Points of Interest.
Although the OpenStreetMap Wiki gives some explanations and tipps on bringing OSM to your device, there are some easier ways to do so.
But first we have to clarify the question if your device can handle with OpenStreetMap-data:
The following devices are suitable for the map-import;
- Garmin etrex Summit/Venture/ Legend/ Vista
- Garmin GPSmap 76/ 78/ 60/ 62/ 64
- Garmin Colorado 300/ 400
- Garmin Oregon 200 / 300/ 400/ 450/ 600
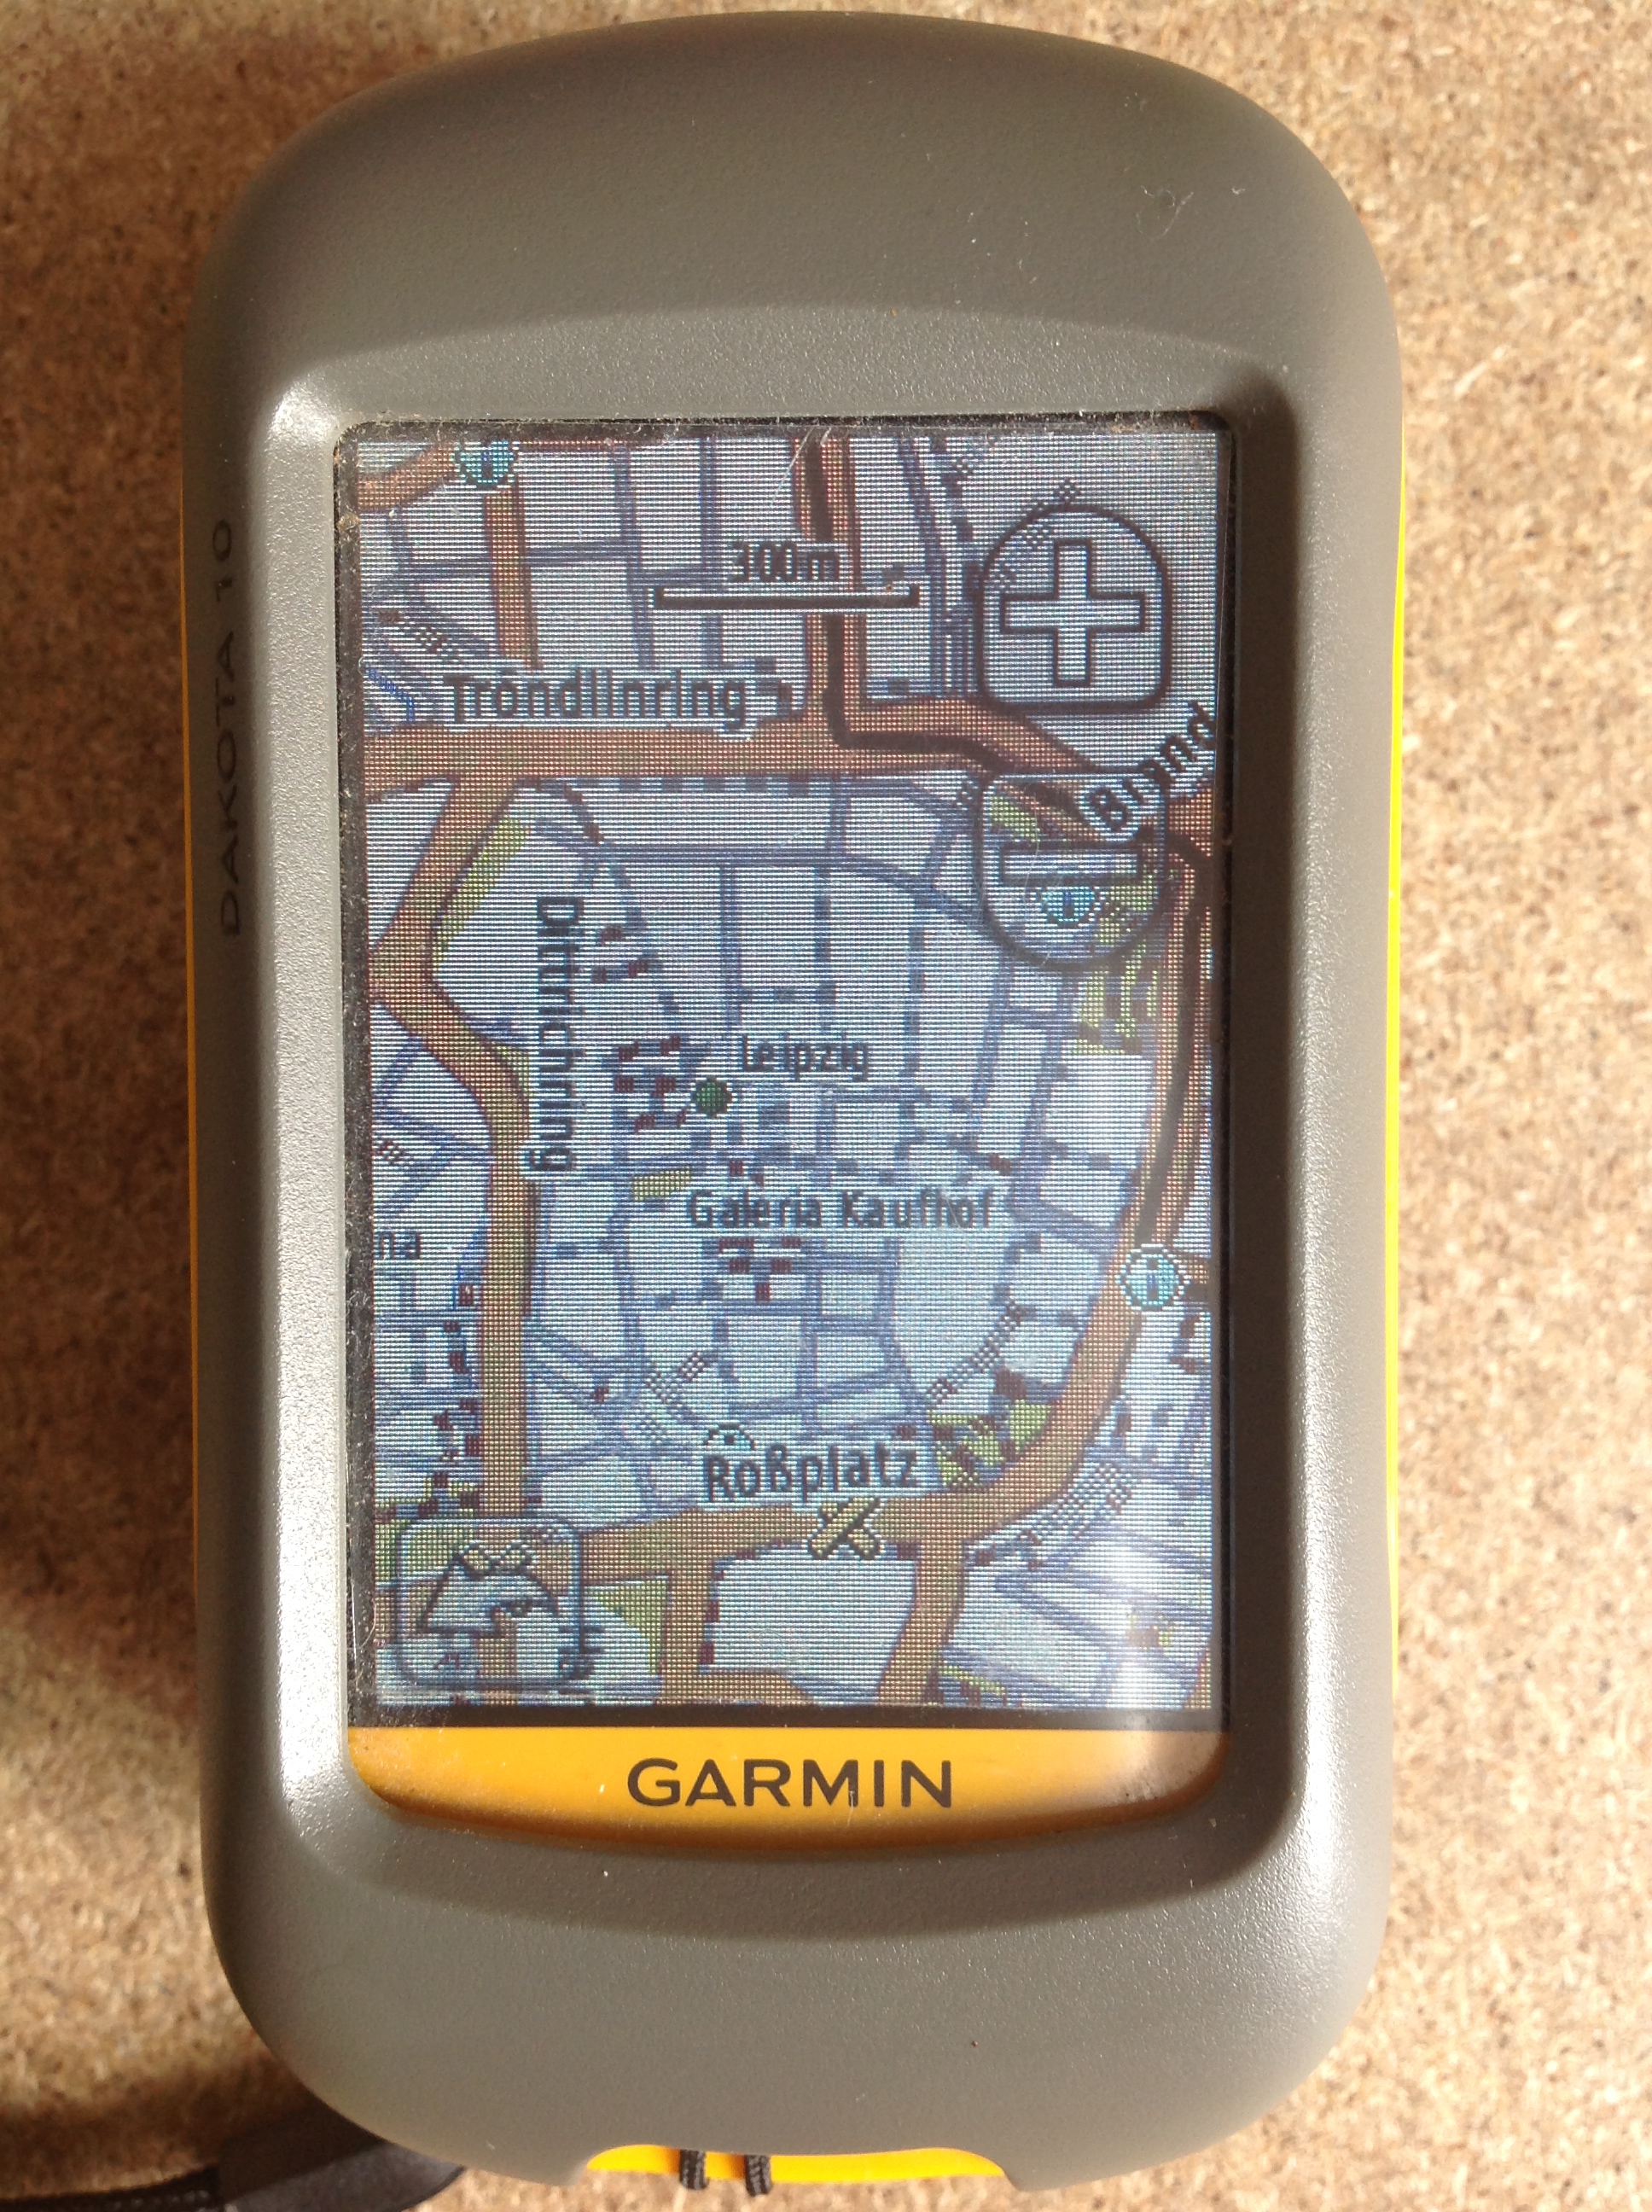
- Garmin Dakota 10/ 20
- Garmin Montana 600/ 650
- Garmin Monterra
If you have on of these devices there is no need for buying the expensive and out-of-dated Garmin TOPO Maps. You can easily download the up-to-date and detailled OpenStreetMap-data.
The website garmin.openstreetmap.nl provides country-based or tile-based maps directly to put on your device. The search mask is very easy:

1. Choose your map type:
In the first step you can choose the style of your map. It depends on your usage. If you like the general OSM-design, than click on ‘Generig Routable’ or ‘Generic Routable (new style)’. For all using the decive on bikes, browse the bicycle map ‘Routable Bicycle (Openfietsmap Lite)’, ‘Generic Nautical (non-routable)’ for marine purposes and background elevation, extracted from SRTM 90m choose ‘Transparent overlay with elevation contours’.
2. Include a TYP file (Optional)
TYP-files (Mapnik) are for a more appealing rendering but increases the loading times of your device. So if you have one device of the etrex series, it’ll be better not to use a TYP-file. The ‘Routable Bicycle’-Maps comes with its own rendering style.
3. Choose a predefined country:
If you like to download data for a whole country you can browse the country using the drop-down menues. Otherwise go to the next point.
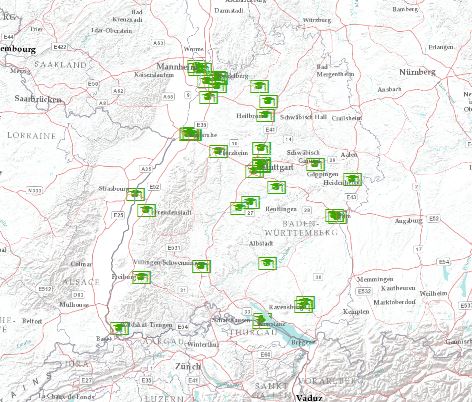
4. Perhaps you’d like to add sime additional tiles?
Enable the manual tile selection if you like to browse to your Area of Interest using the map located below and selecting the desired tiles.
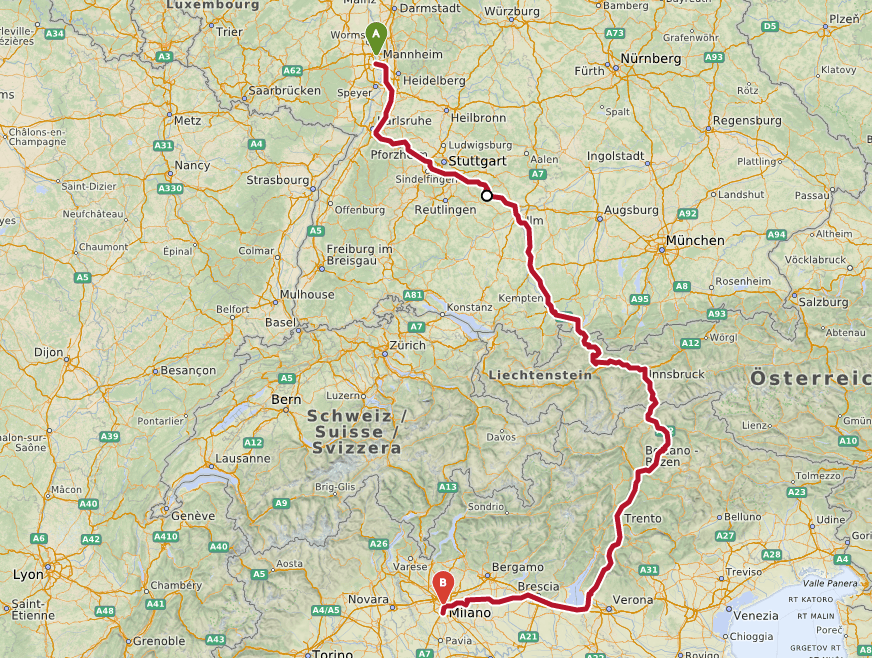
5. Request your map or download it directly
If you made your choice in the above categories you can either download directly (it’s the case when you choose a whole country) or insert your email adress and wait for the downloadlink and the personally generated file.
After clicking the ‘Download Map now’ link or the Link in your Email you have 4 choices:
1. osm_generic_windows.exe –> click here if you’re using Mapsource or Basecamp (see below) on windows
2. osm_generic_tiles.zip –> click here if you use Qlandkarte and Linux
3. osm_generic_macosx.zip –> click here if you’re using Mapsource or Basecamp (see below) on MacOSX
4. osm_generic_gmapsupp.zip –> click here if you want easily drag and drop your map to your device. It’s the easiest way!
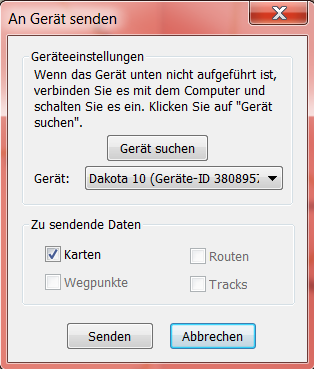
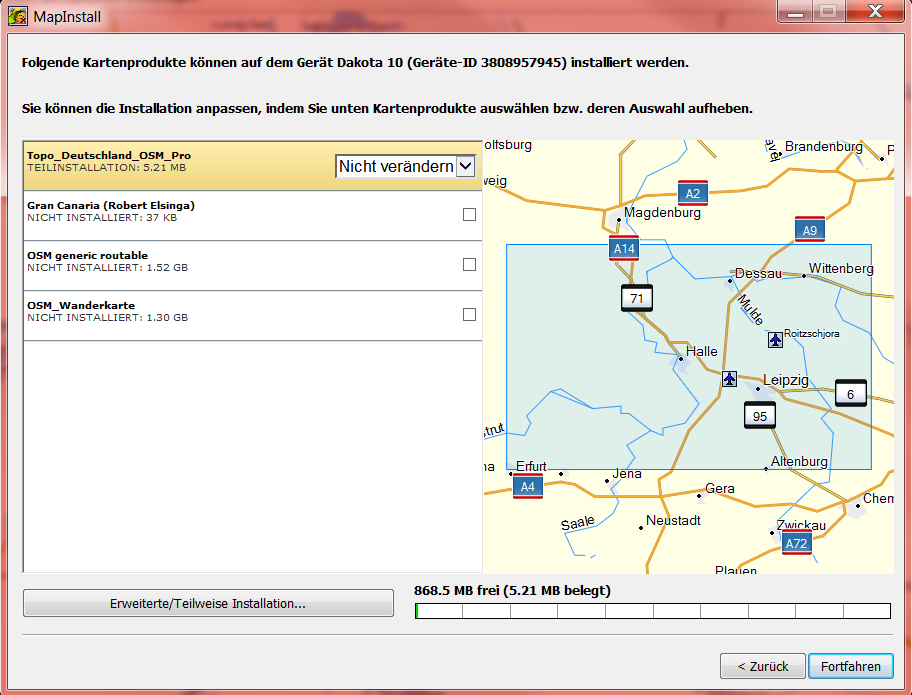
If you have installed Mapsource or Basecamp you can install the map 1. or 3. and it’ll be added to your map-folder in the given software. In Mapsource you have to choose your map in the drop-down menu, select tiles (using the yellow polygon (mapping function) and click on blue arrow to the GPS (send to GPS) to send the maps to your Garmin.


In Basecamp you can send maps, by right-click on intern storage and selecting the tiles.

If you choose way 4. you have to plug in your device and copy the file to your Garmin main directory and replace the gmapsupp-file. That’s all. Using direct drag-and-drop doesn’t give you the chance just to choose some tiles of your map. So if you downloaded a complete country but like to use just a small area, it’s better to use Mapsource or Basecamp.
In the comments, user MarcGemis gives an alternative to garmin.openstreetmap.nl: Visit extract.bbbike.org. It’s pretty much the same mask like on garmin.openstreetmap.nl but you can select more different files and designs of the maps. The downloadable files are not only for Garmin. You also have the chance to download shapefiles and contourlines in different designs. After selecting a data type and an area just by browsing in the map and clicking on “here”, you have to enter your emailaddress and wait for the downloadlink. A comparison of the different styles can be seen here.
Hopefully I could help you to bring good maps on your Garmin devices. If you have more questions you can use the comments or check the F.A.Q.. There are also other GPS-devices like Medion which can use OSM but I have no support for you. Sorry.
Many thanks for this great tutorial. This made the task of installing a new map a breeze! I went with #4 in case anyone cares 🙂
Hi!
Thanks so much for this.. I am looking at buying the Garmin 64st. Can you confirm that it is ok and still works to download OSM maps on this device please? Also, how far can you zoom in? as it doesn’t look very detailed on the OSM site, not enough to know what track to be on etc.
Hope you can help, THANK YOU! 😀
Thank You! You are a gentleman and a scholar! Very cool of you to help others by posting this info.