I often find myself in a situation where I want to work with large areas and datasets of OpenStreetMap data. No matter if you want to use them in a QGIS map or create custom map tiles in Tilemill, with the Overpass API you quickly run into performance issues. Imposm is a great tool to overcome that situation, so you can load OSM extracts (worldfiles in pbf format) with a custom data mapping into a PostGIS enabled PostgreSQL database. The downside: It is hard to set up if you are not a database and system admin guru. This is where vagrant-osm-import comes into play, a tool to get you started easily.
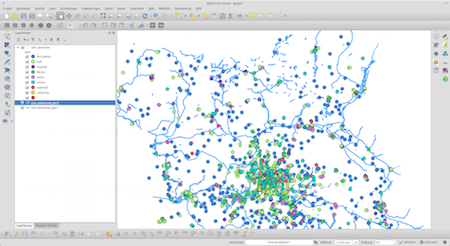
Imagine you want to create a map in QGIS using a custom extract of OpenStreetMap data. In this article, I want to show how easy it is to do it using vagrant-osm-import, the tool we from Geolicious released today on GitHub. But before we get started, let me introduce you to the concept of Vagrant.
Vagrant is a tool for developers to create reproducible environments for developing software. It allows you to write a Vagrantfile, which is used to generate a virtual machine with a custom configuration of an operating system with a set of software already configured and installed. This makes it easy to share a software setup and develop against a common environment. But it isn’t limited to that, you can also use it to spin off virtual servers on cloud hosting providers like Amazon AWS and Digital Ocean. This is especially useful in this case, because importing large extends of OSM data is very ressource intense.
Now, the idea of vagrant-osm-import is that we prepared a Vagrantfile along with all necessary configurations to set you up an OSM database with a custom mapping, either on your local computer or on a virtual server on Digital Ocean. Everything you have to do is:
- install Vagrant (and plugins, depending on your preferred provider: VirtualBox, Linux Containers / LXC or Digital Ocean)
- customize the mapping to select what feature types you want to have imported, which attributes to keep, and which postprocessings to apply, e.g. simplification
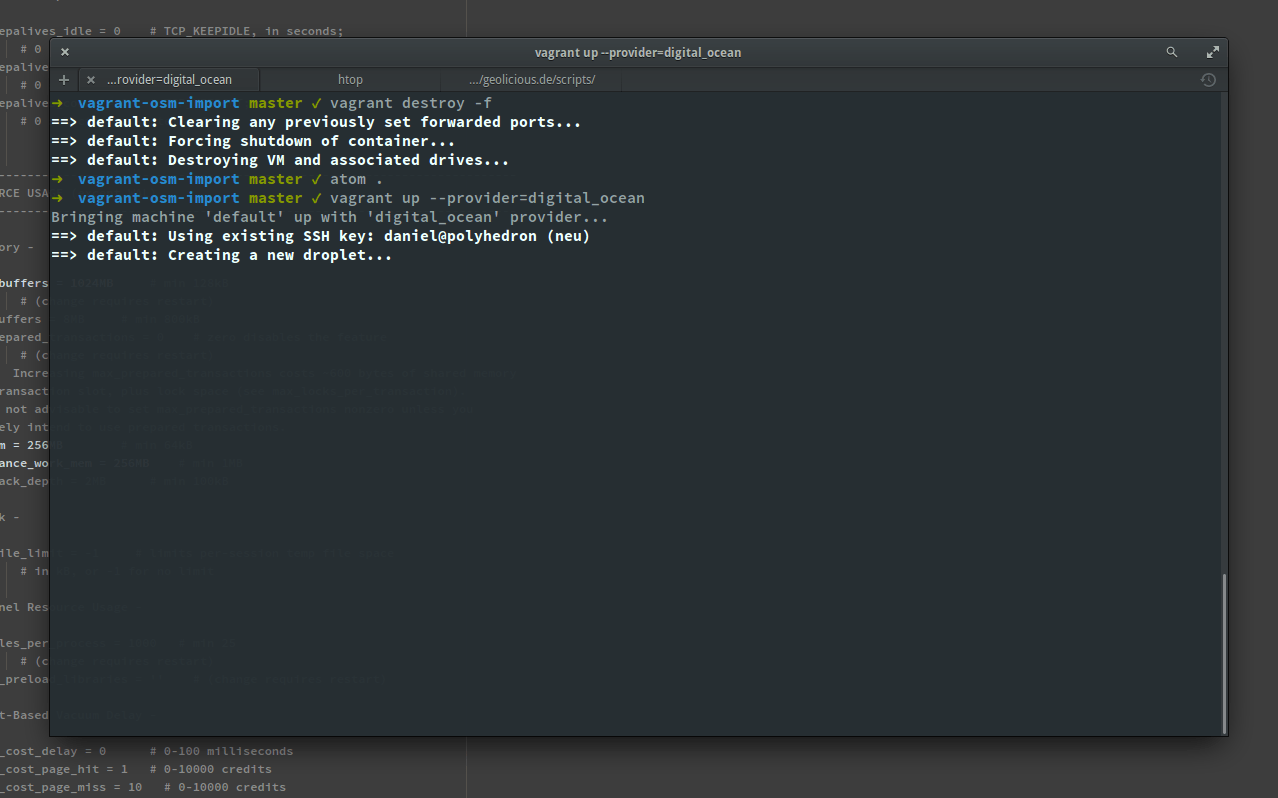
- run
vagrant upand see how the machine gets started and configured.
- log into the machine using vagrant ssh and start the import with the provided script
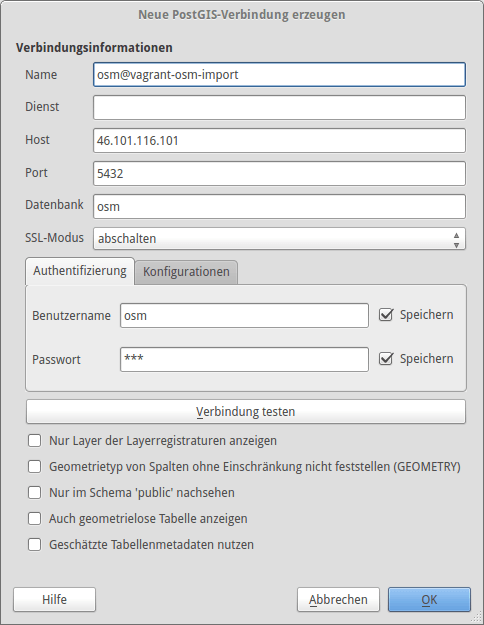
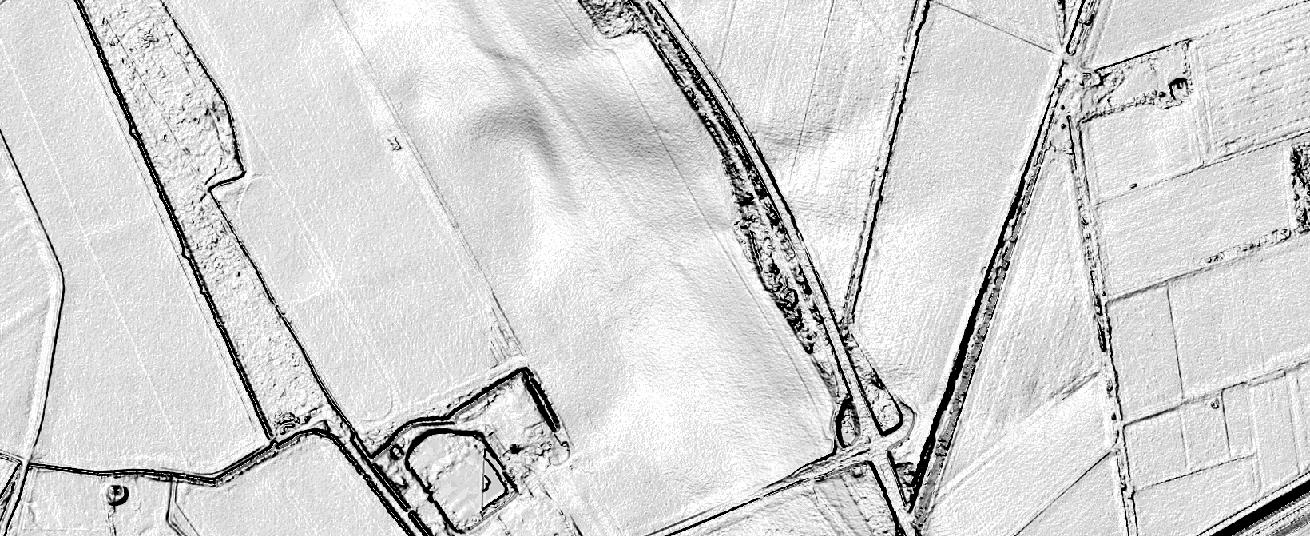
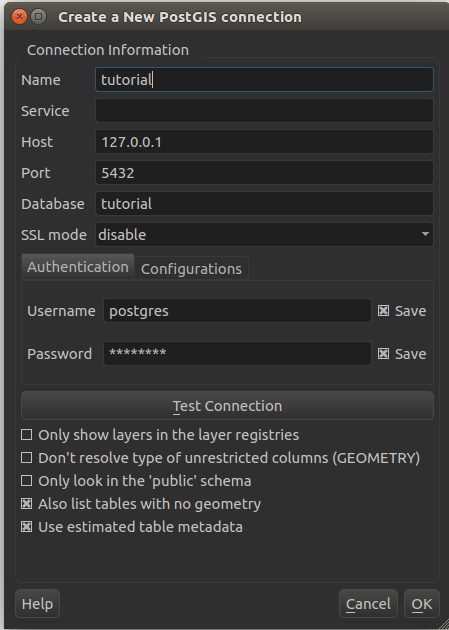
- access the data from QGIS and do whatever you want 🙂
For detailed instructions, please refer to the instructions on GitHub. Ideas and contributions are welcome.