Last time we had the task to create mountain ranges polygons for the whole world. I prepared a small tutorial referred to that. Maybe you can find something interesting for you. It will show you a model on how to select defined regions, slicing raster, smoothing and also exporting desired features. Enjoy!
Location and data
The first step is to find a location. It’s always useful to check wikipedia in order to do this, but also there is a very interesting website: http://peakbagger.com/default.aspx, where you can find many ranges from all over the world.
When you already have latitude and longitude you need to download elevation basedata. In this case it will be SRTM but you can also use e.g. GMTED2010 or other. You can just use this website http://srtm.csi.cgiar.org/SELECTION/inputCoord.asp for downloading SRTM slices.
Let’s go to QGIS!
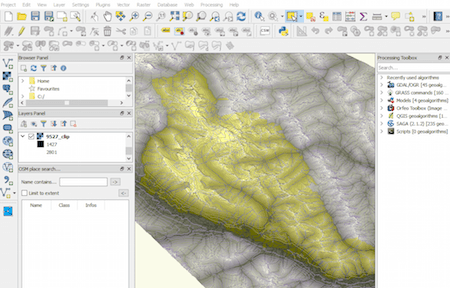
It is easy to find the precise location in Qgis using the OSM place search plugin, which helps in finding places like cities, rivers or mountain peaks within seconds. The plugin is crawling OpenStreetMap database and shows possible entries and their polygons.
Then you need to start the SRTM data preparation. To do this you can create a new polygon (a little bigger than the analysed range) and then cut your raster to this polygon (Raster → Extraction → Clipper).
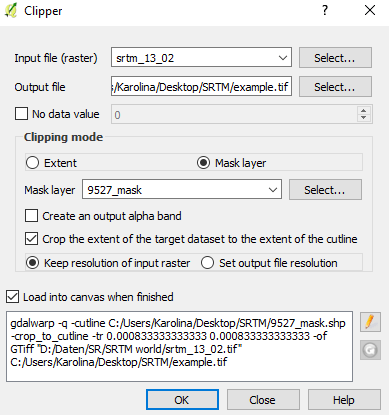
Sometimes range is bigger than one piece of SRTM, in that case you just have to merge rasters which cover your area (Raster→ Miscellaneous → Merge).

Models in QGIS
To create models go to the Qgis toolbox and choose processing → graphical modeler.
The first step is to select input data. In our case it is SRTM, so you have to choose raster layer. Then in the left bottom corner you should change Input to Algorithms.
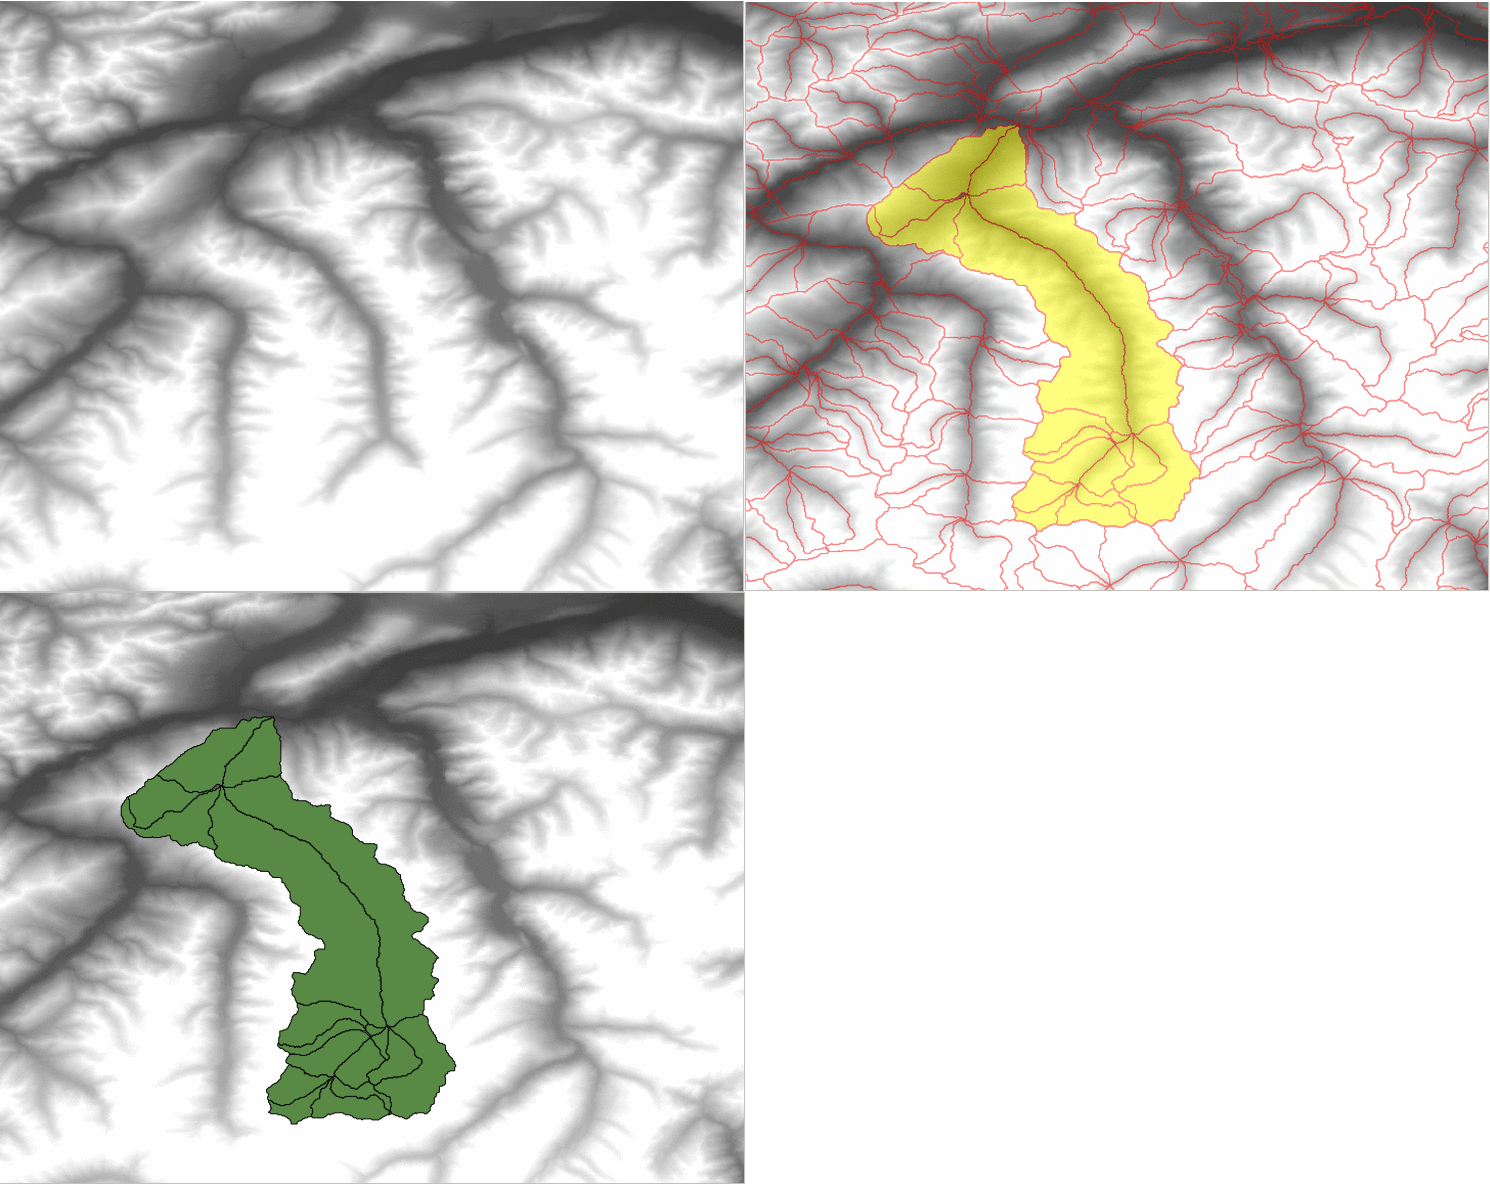
The first algorithm is r. watershed (one of the processing tools for QGIS from GRASS GIS). It’s really useful if you want to get a natural border of mountain ranges out of watersheds. Depending on size of area you change only minimum size of exterior watershed basin. In this example we use the value 5000, but for smaller area it is better to use smaller one for example 1000. You need to also unmark the option “Allow only horizontal and vertical flow of water.” to get natural watershed-borders.
From this operation you get a half-basins raster file. Next step it is to polygonize this raster file to get a vector layer (Raster → Convertion → Polygonize).
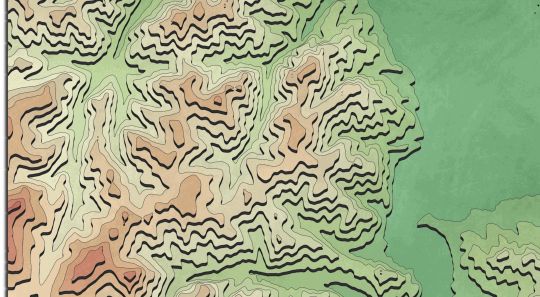
From the input layer is also good to create a layer with contour lines. In order that mountain stays in height-contrast to the surrounding, the shape of mountain range is exactly the same like one of those contour lines.
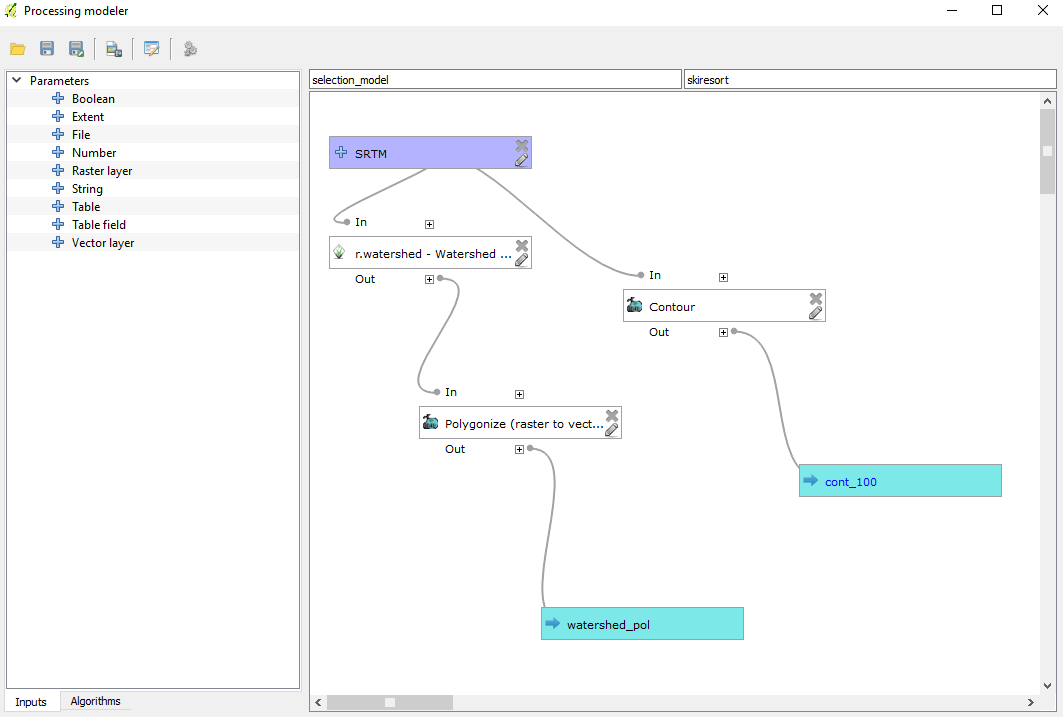
From the first model you get two new layers. First with polygons and second with lines. Using these layers you have to select the exact shape of mountain range. To define the mountain-range extract, you can use only polygons or/and cut polygons using lines.
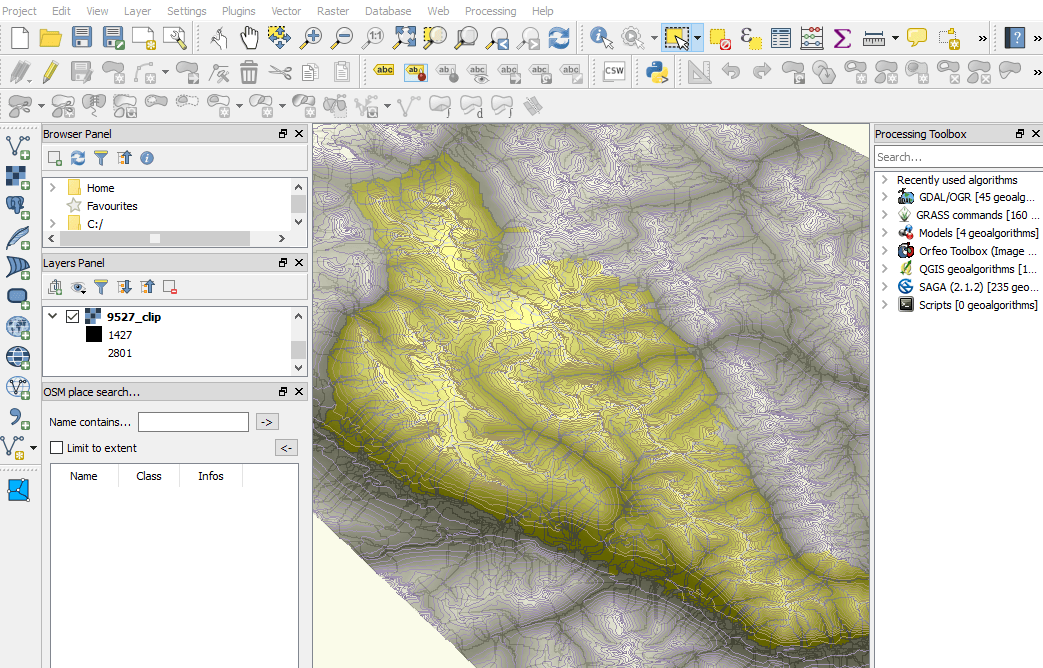
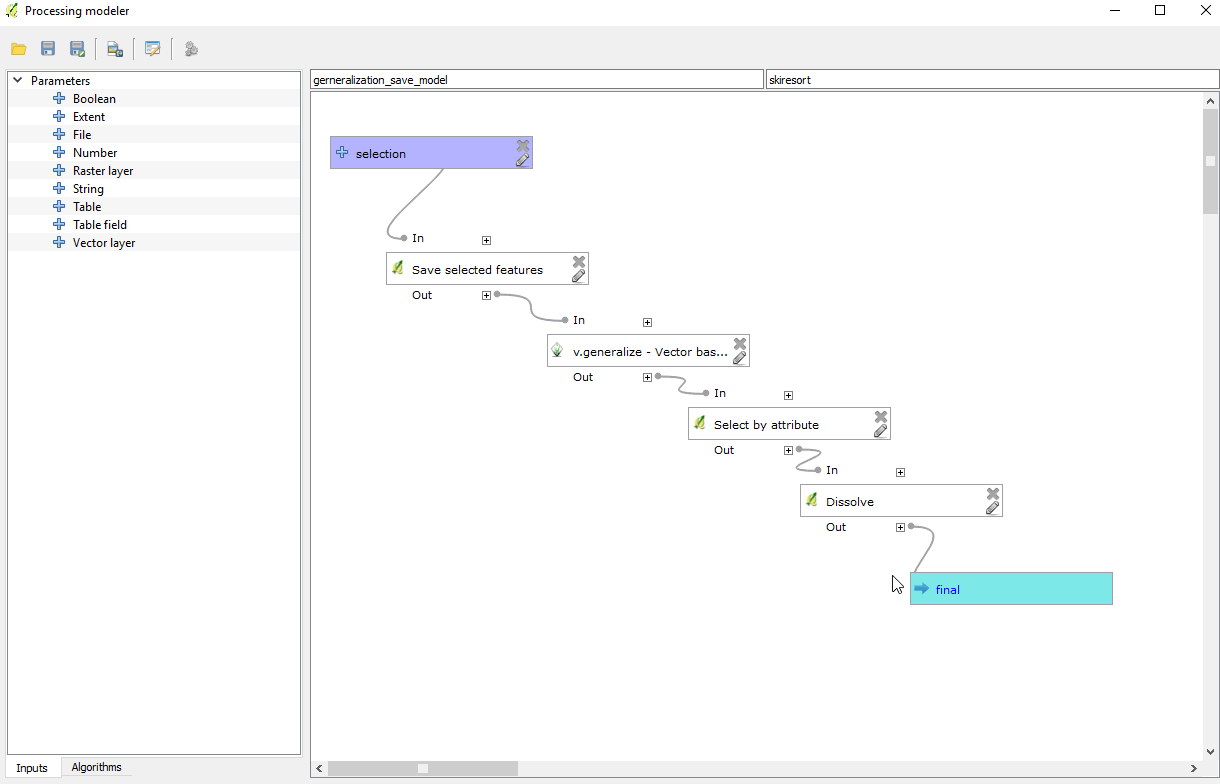
The second model helps in generalization. Once you have selected the polygones you can choose them as an input data. In this case you have to use vector layer. The first algorithm here is Save selected features. Afterwards use another tool from GRASS which is v.generalize. From the first model you get polygons with ugly, sharp borders. Use the Snakes method to get the smooth lines.
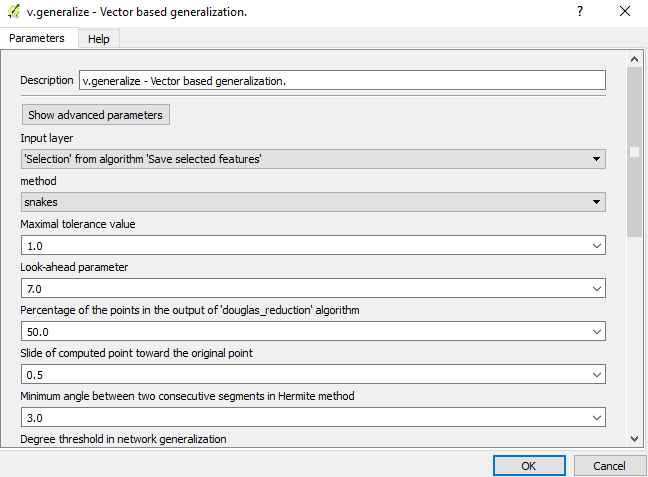
Next step is to select features by attribute where Selection attribute has to be DN, and the operator >= 0. The last step in this model is to merge all plygons. For this operation you use dissolve tool.
From second model you get one big polygon which is our mountain range. Now you have to delete all mistakes, and check borders to verify if the smoothing works everywhere.

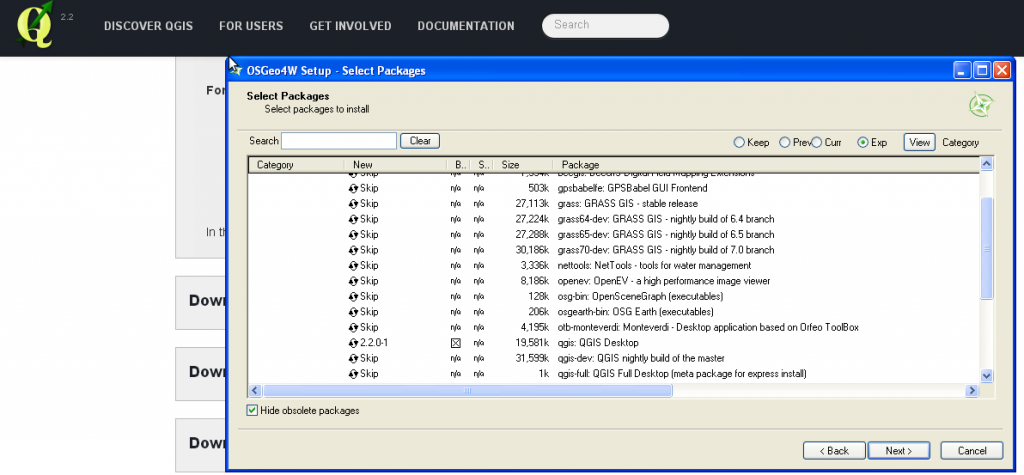
In the beginning we made all operations in manual way, it was quite complicated and laborious. It turned out that the best solution is to create a model, which speeds up and facilitates the work. I attach files with models at the end. The first model you can download depending on your QGIS version, but the second works only in version 2.12, maybe someone will get the idea how to change the model to make it work also in the version 2.14
If you’re not aware on how to work with models, check out this small video tutorial from Riccardo:
