
A short time ago I’ve posted an article on the installation of QGIS in combination with a PostGIS database in the background. As we all know, Windows is mostly used as OS on a PC so this is the Windowized version. This is a short summary that sums up the article of a site called Boston GIS. I’ll show you how to install QGIS version 1.8 (which will be updated in some days) and PostgreSQL with PostGIS extension and show you the first steps in the import of shapefiles and raster data.
Prerequisities
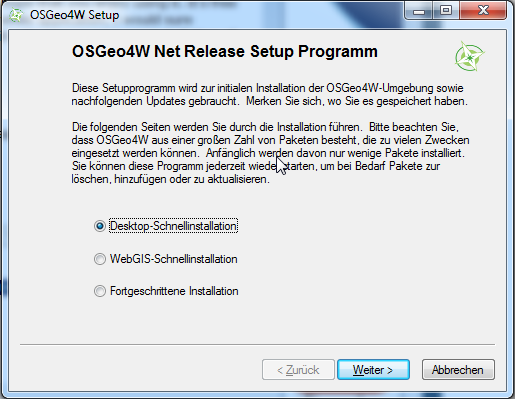
First of all we will download the OSGEO4W installer which provides an easy way to install QGIS on your Windows. Follow this link to install the 32bit stable versions. After downloading, run the exe as Administrator to install QGIS and some additional software. Therefore choose “Express Dektop Install” on the first screen:
Next you will be asked which programs you would like to install. As we are concentrating on QGIS we will choose this for sure but add the GRASS and GDAL libraries as well:

Now take yourself a coffee and let the magic happen!
PostgreSQL 9.1.9 with PostGIS 2.0
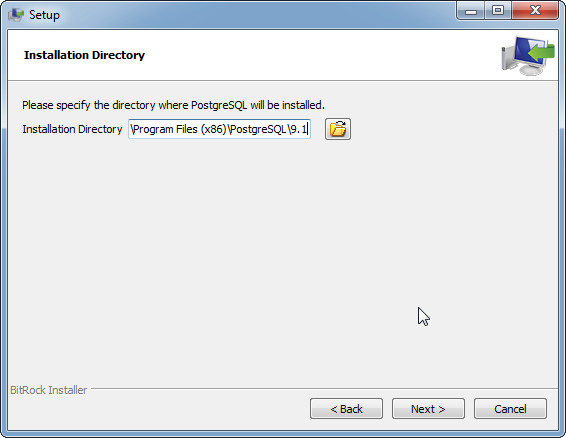
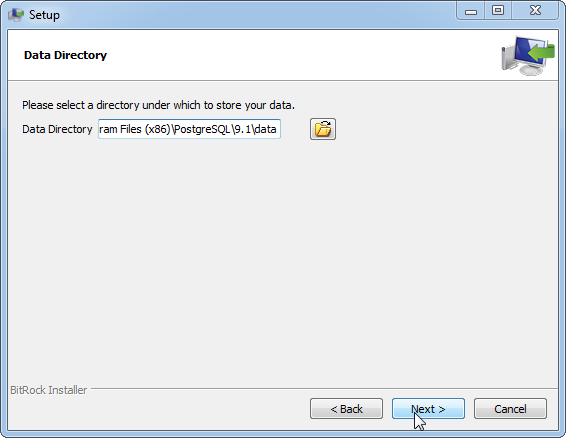
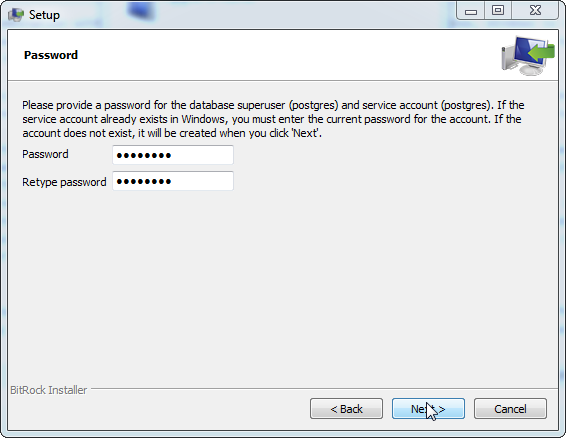
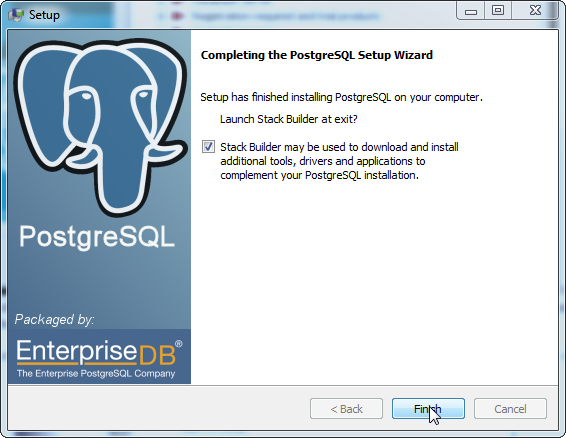
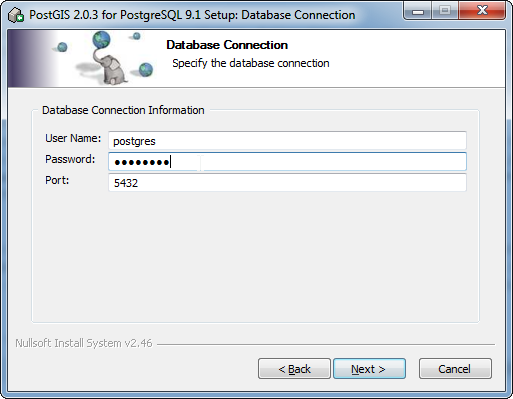
The installation of PostgreSQL is straightforward. Visit the download page, choose your flavour (tutorial is using Windows 32bit version with release number 9.1.9 to go along with the QGIS installation) and start the installation. Stick to the default entries and use a secure password for the superuser postgres (especially if your PostgreSQL database will be accessable from other PCs). You will see screens for each step in this slideshow:


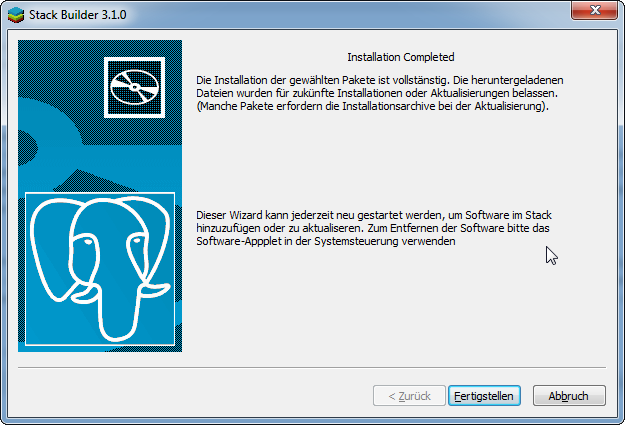
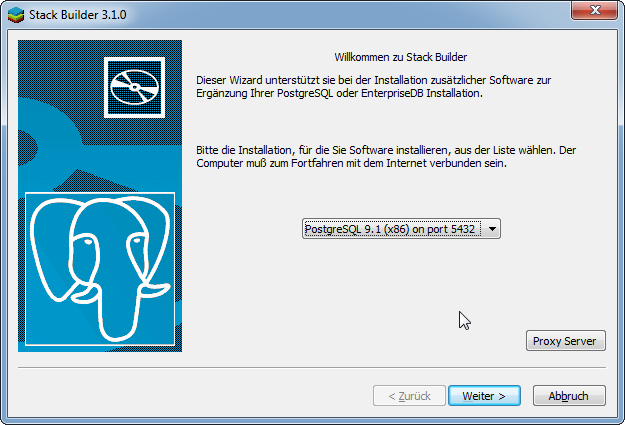
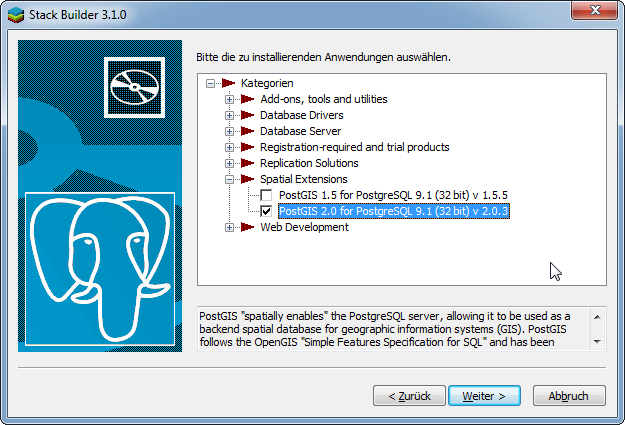
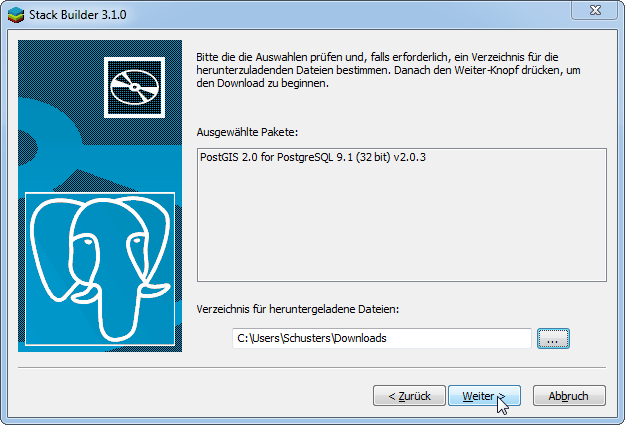
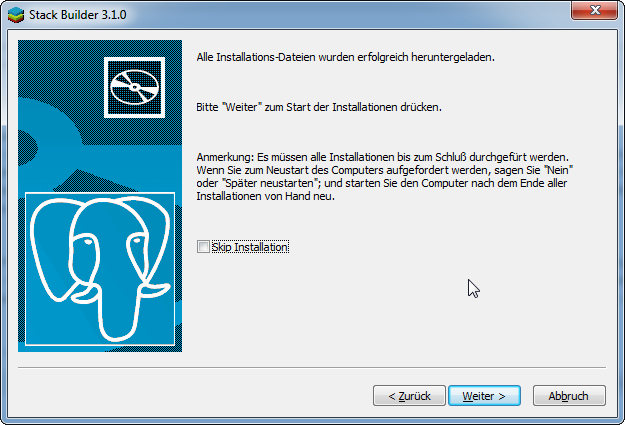
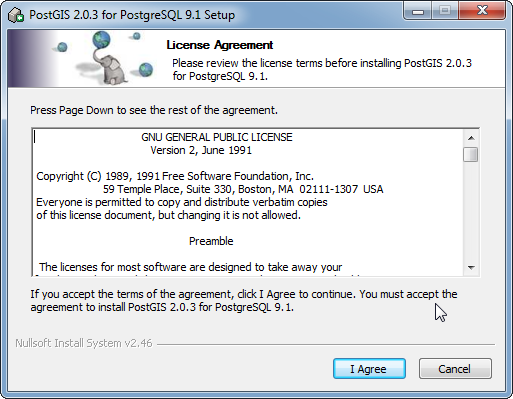
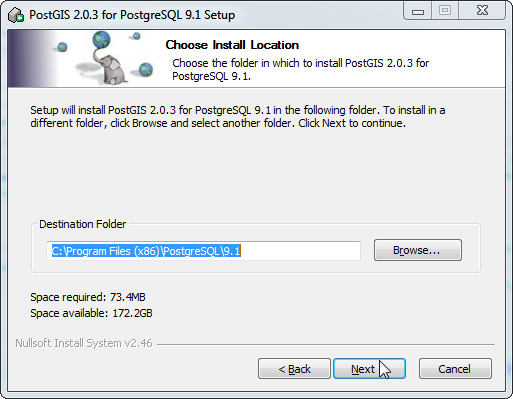
The installation of PostGIS is easy as well as we can use the stack builder to complement your PostgreSQL installation. Check the following screens for the needed steps.


Admistration and usage
To administrate our database with a shiny and fancy GUI we will use good old pgAdmin III. It is installed automatically with the above steps. So go to your program folder and open pgAdmin III. Our first goal is the creation of a database and the connection in QGIS. So connect to your PostgreSQL database on localhost. You will be asked for your password and after opening the “Databases” node you will see two databases already implemented: postgres and template_postgis_20. We will add our own by rightclicking on “Databases” and choose “new Database”:

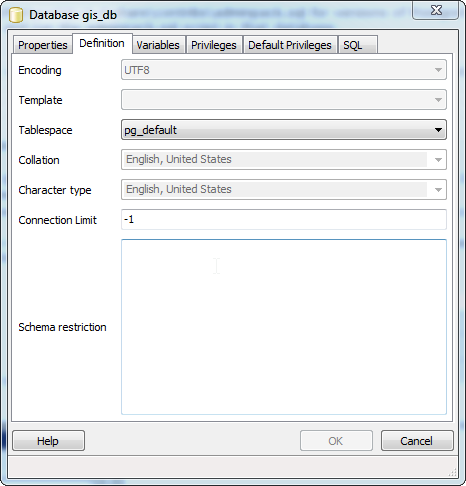
As we used an empty template in the example above we need two extensions for the new database. right click on “Extensions” and choose “new Extension”. Install the extensions postgis and postgis_topology. After this we are ready to go with QGIS.
For this tutorial you may use the following datasets:
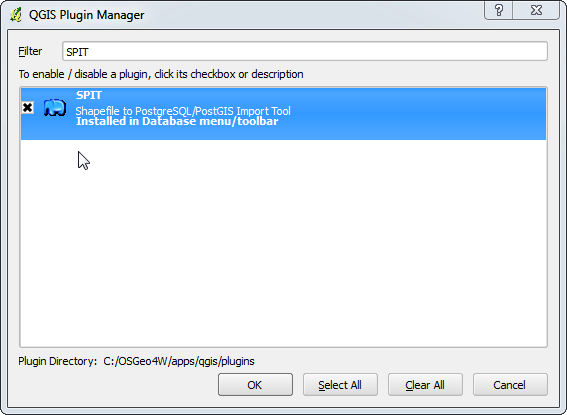
Fire up QGIS and enable the SPIT plugin using Plugins->manage plugins:
Now we we need to connect to our postgis database by opening the SPIT plugin using Database->SPIT->Import Shapefiles to PostgreSQL:
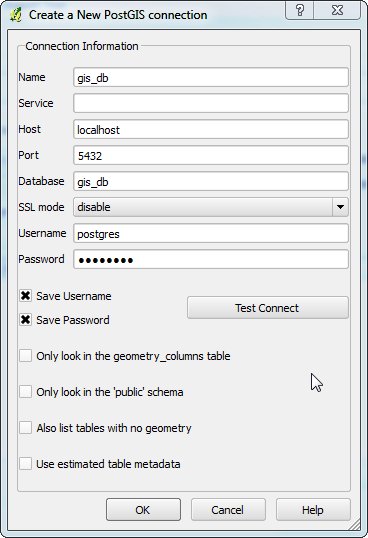
After you added the connection click on add to choose your shapefiles. Make sure, you have choosen the schema “public”:
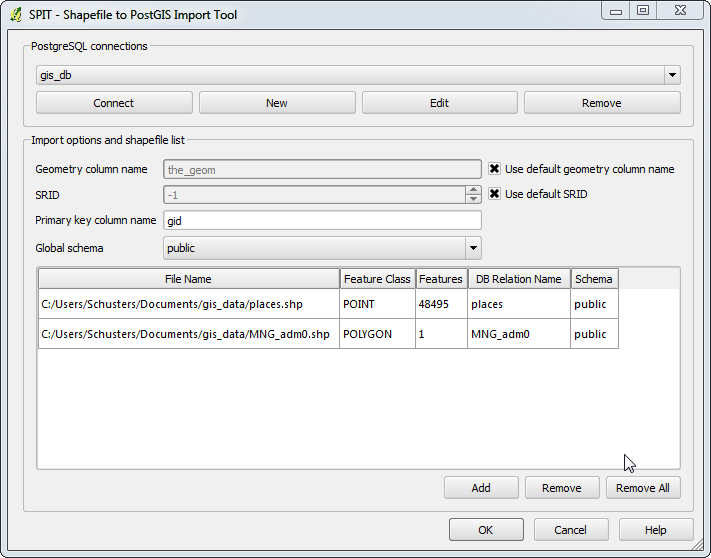
Click on “OK” and off you go.
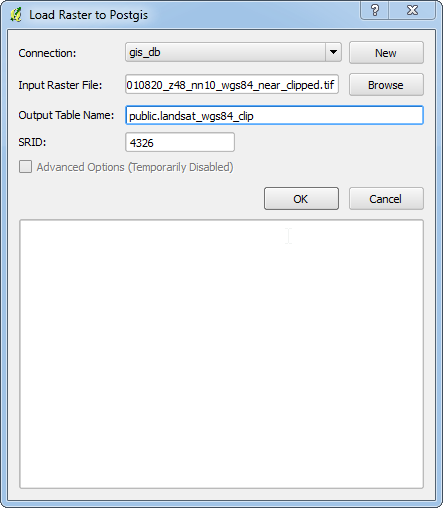
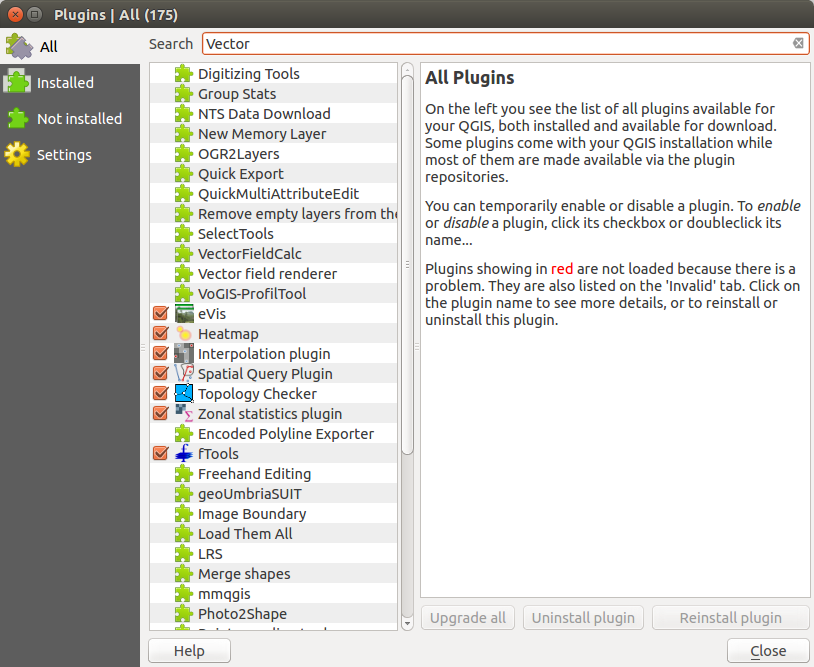
As raster data is always a little different we will use another tool to import the data to PostGIS from within QGIS. The tool is called “Load Postgis Raster to QGIS” and is abvailable as Python plugin. So go to Plugins->Fetch Python Plugins and search for the mentioned plugin and install it.
After this you can use Database->PostGIS Raster->Load Raster to PostGIS. Of course this is our choice. Choose your file for the import and your database and make sure the SRID fits the one of the raster file:
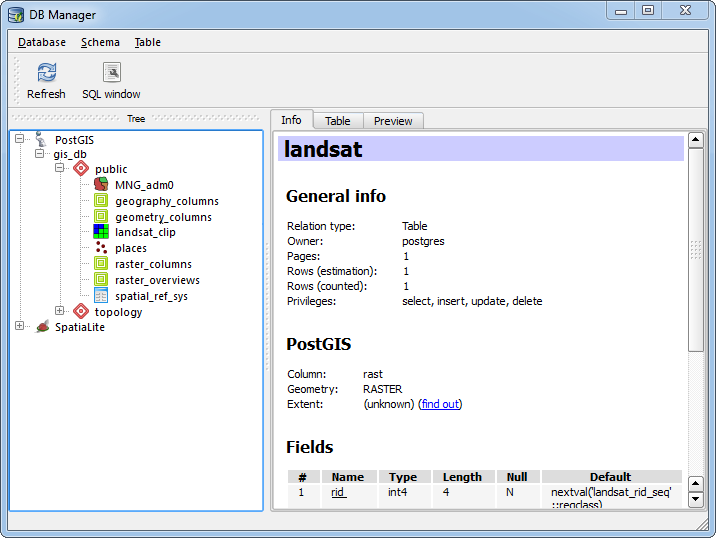
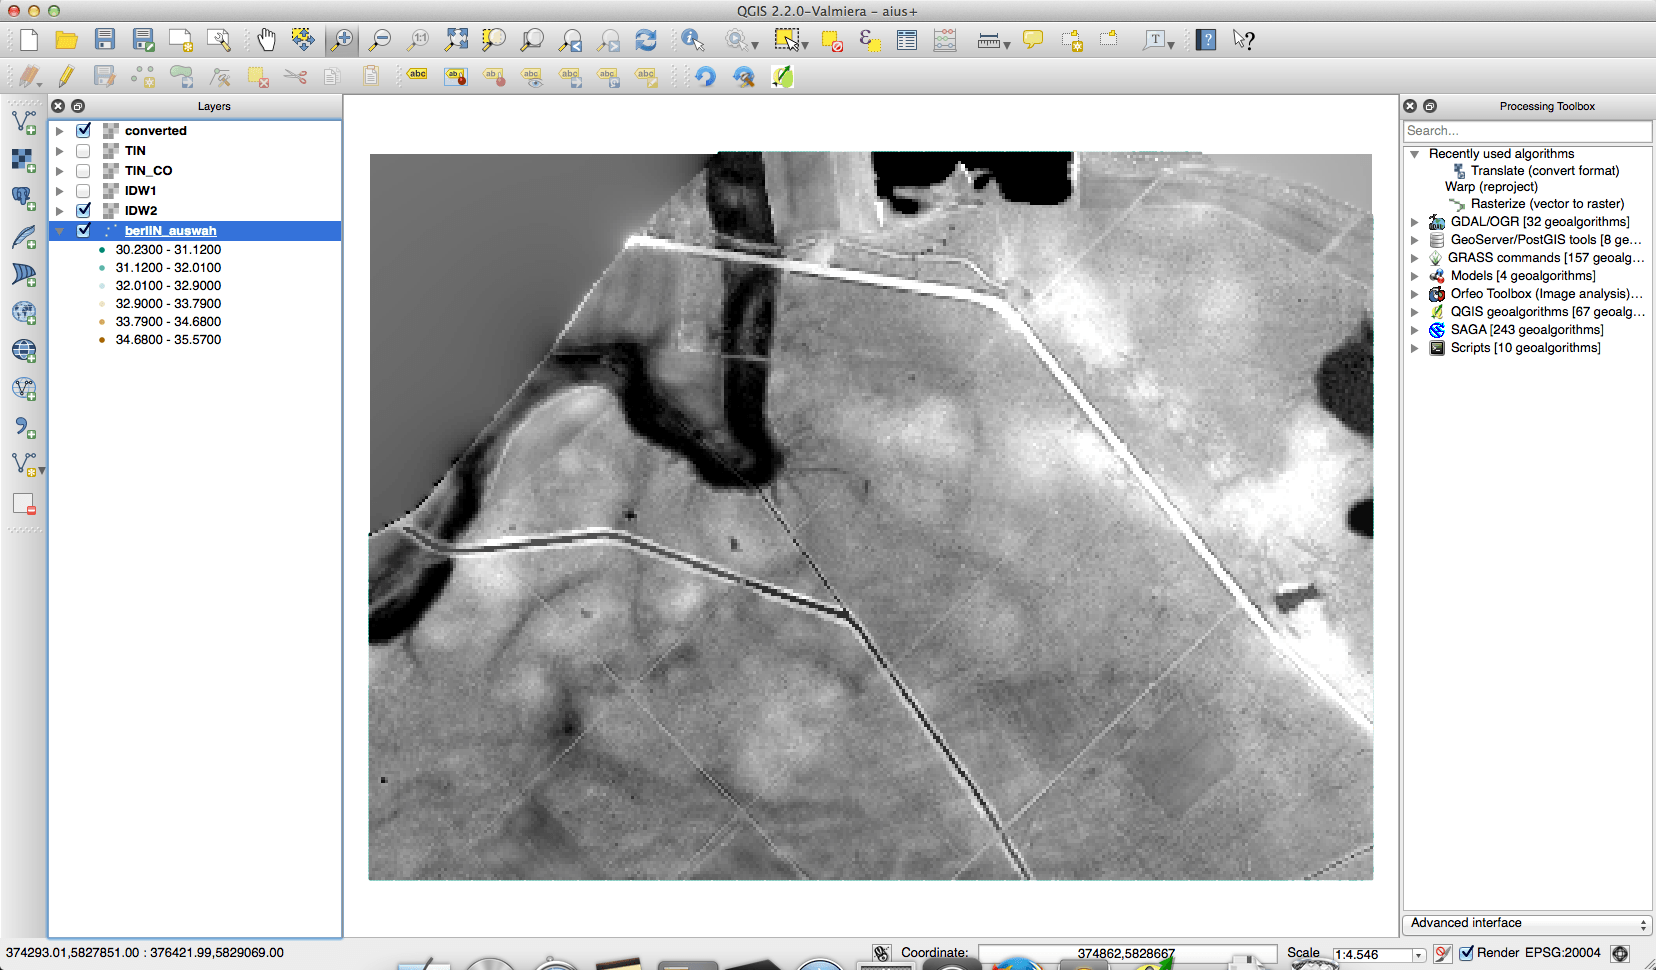
In the end you can use the database manager to choose your datasets and add them to the workspace. The Database manager is under Database->DB Manager->DB Manager. Connect to your postreSQL database by double-click and you will see your datasets:
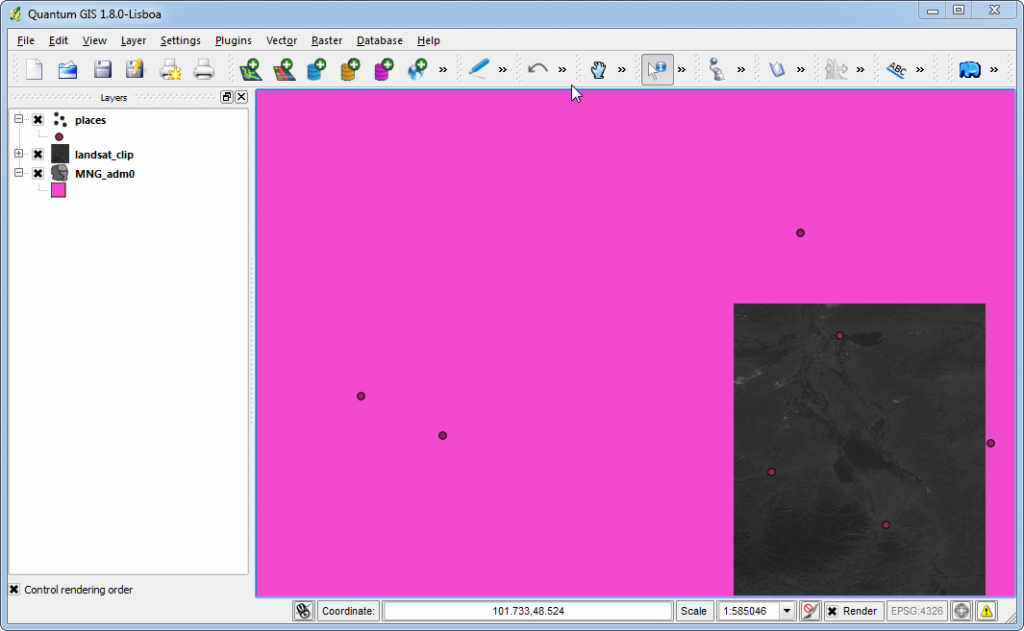
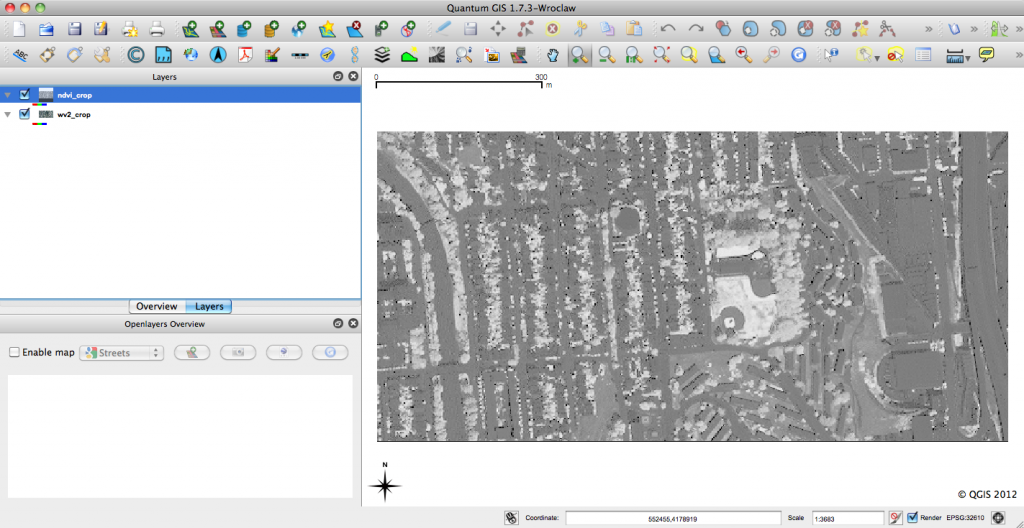
And finally we have our data all together in QGIS:
Thanks so much i will try and give you the feedback
[…] Cesium – Web-Globen und 2D-Maps leicht gemacht more articles OpenSource QGIS + PostGIS installation: “the Windows way” […]
Excellent article, helped me get set up on Windows, thanks!
Thanks for your article but I can’t found “Load Raster to PostGIS” plugin on QGIS, Could you please explain to take them.
Thank you,
Wanisa