Since we have managed to get a very simple web-map running on our website, it may be a need for some persons to distribute their own shapefiles using a web-map. In this case it is a good choice to take a closer look on GeoServer. This will provide the mapping engine and uses the OpenLayers library for this as well. But you can skip using the basemaps and just share and show your own shapefiles and raster.
The installation on a Windows system seems much easier than for the Linux System (Ubuntu 12.04 LTS in this case): Just visit the website and download the installer for Windows and off you go.
To my system used, it was a little bit more complicated: first of all we need the tomcat webserver:
sudo apt-get install tomcat7
And now you need the Web Application Archives file (WAR-file). Simply download this from the GeoServer website as well: DOWNLOAD. Copy the unzipped war-file into your tomcat folder:
sudo cp geoserver.war /var/lib/tomcat7/webapps
Now you just need to logout and login again at your PC and it should be running like a charm. The address for the tomcat server is only the localhost and for the geoserver: http://localhost:8080/geoserver
So what else do you need to do, is to create another admin to manage your shapefiles and available mapsets. But first you can use the user “admin” with the password “geoserver”. Open up the data directory of your geoserver installation by opening the folder /var/lib/tomcat7/webapps/geoserver/data/security . You will find a file called users.properties. This is the file we need to edit as a superuser:
sudo gedit /var/lib/tomcat7/webapps/geoserver/data/security/users.properties
So copy the second line and type name and password as your wish and delete or comment the original super user line “admin=geoserver,ROLE_ADMINISTRATOR” to avoid unintended access to your files/ projects.
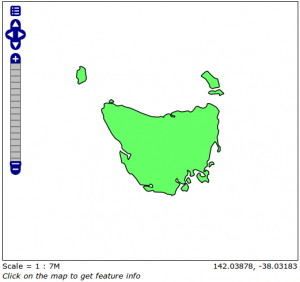
A very basic example map could look like this:

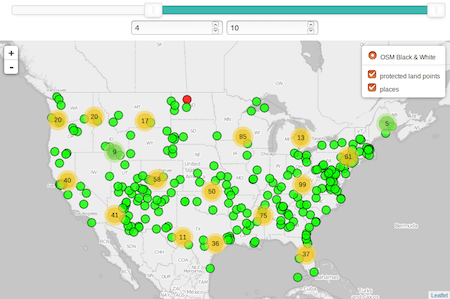
A resulting webmap could look like this in the end:


