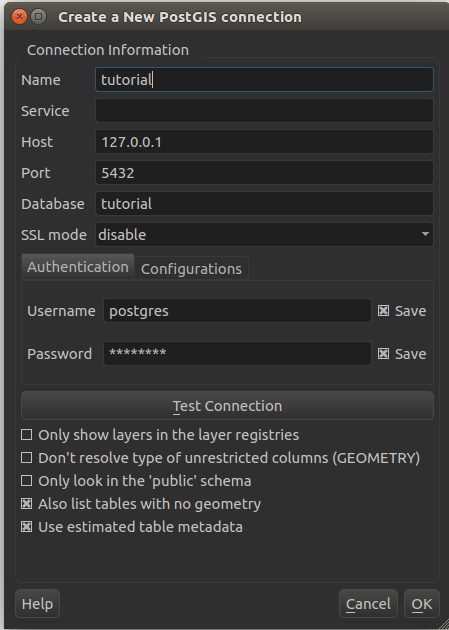
In this tutorial I’ll show you, how to combine text information with spatial information using the open source software QGis. You can easily download and install QGis from the following Source: QGIS DOWNLOAD PAGE.
objective
We will join data given by a shapefile with data provided by a csv file.
what do you need
- Quantum GIS (examples shown in QGIS 1.8
- a shapefile and a csv-file ( you can get both here )
time effort
approx. 5-10 minutes
step 1 – import the shapefile
QGIS has three options to add data to your layer table.
- If you are aware of shapefiles and the corresponding file types in an explorer you may simple drag the shp-file to the layer table and that’s it.
- The second possible way is to use the interface: Layer >> Add Vector Layer.
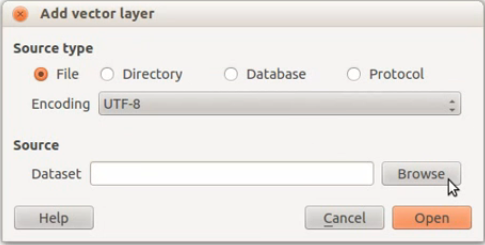
- The third way is to use the button “Add vector Layer”

“Add Vector Layer” button in QGIS

Now choose the correct encoding of the attribute values of the shapefile which. Normally you are good in choosing UTF-8.
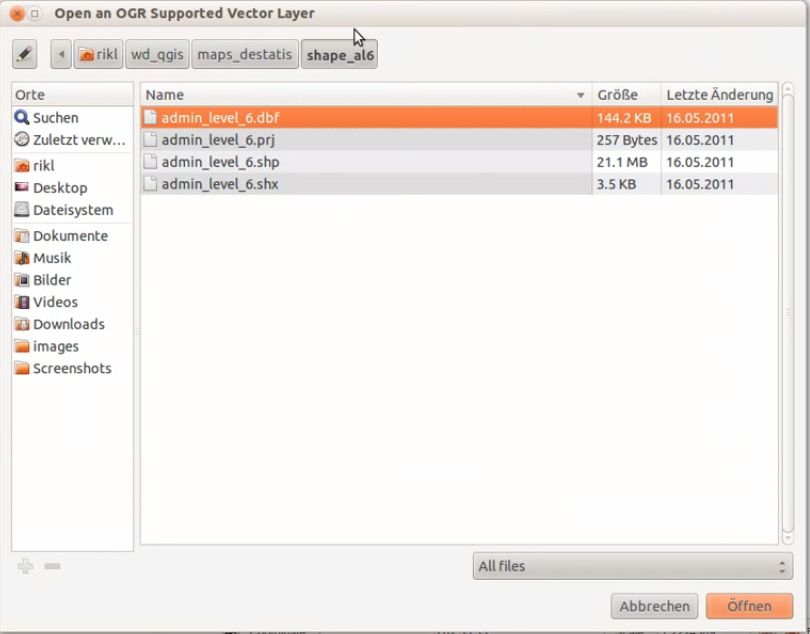
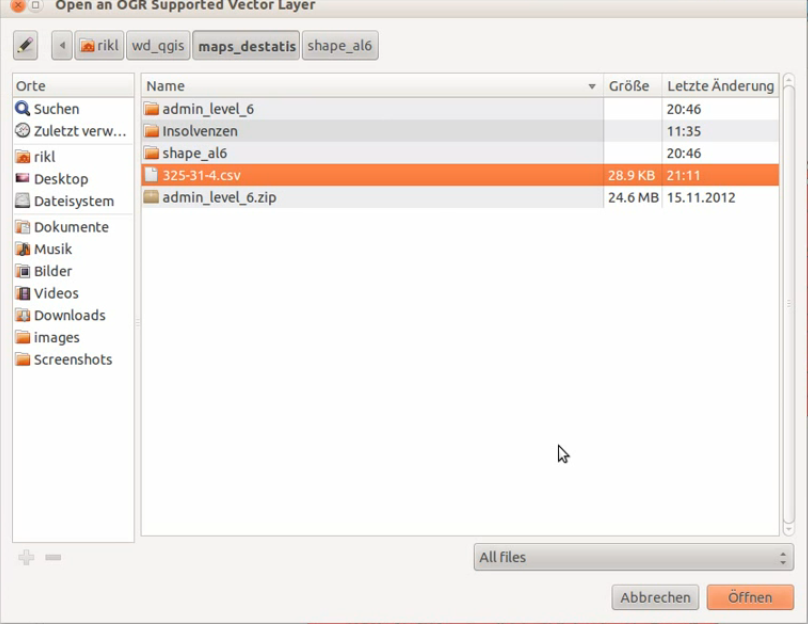
Last step is to choose the needed file:
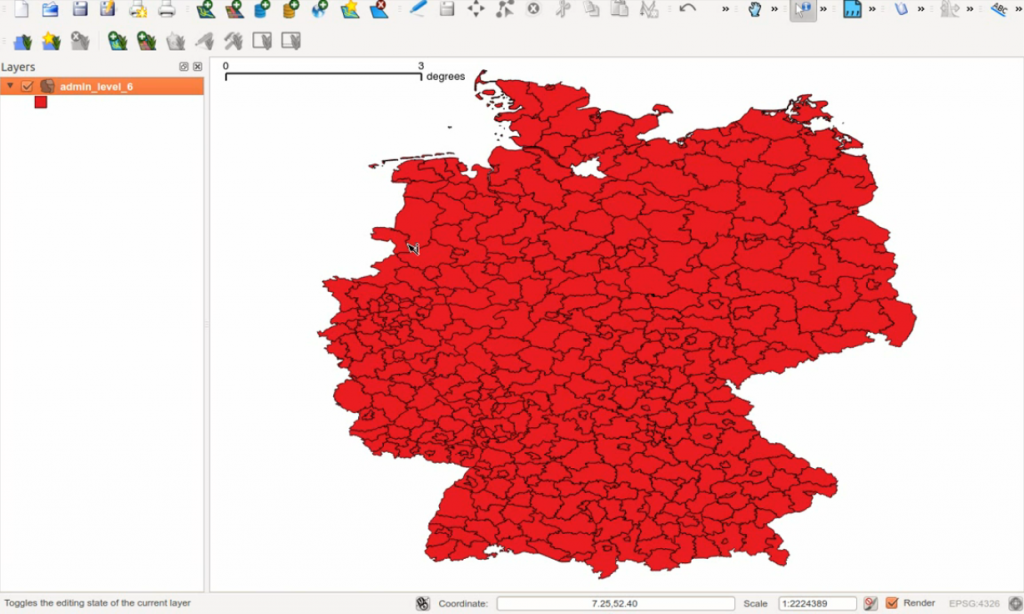
The result should look like this:
step 2 – adding the text information
Now there is a crucial misunderstanding in definition of adding *.txt or *.csv files. For adding a simple table to a QGIS project you will add it as a “vector layer”. Please don’t ask why…
It will be available in your workspace afterwards. In General you need to make sure that there is an attribute in your shapefile like “ID” that works like a bridge to the other dataprovider. SO you need a corresponding field like “KEY” that has the same value. So you can define “ID” == “KEY” and the connection of one feature of the shapefile to the corresponding entry/line in the *.csv file. In our case this is the field “AGS” in the *.shp file and “ID” in the *.csv file
step 2 – establishing the connection
Establishing a connection is quite easy. Open the layer properties and choose the tab “Joins”. After that press the add-Button and choose the desired table and join-fields:

You will now be able to see the attributes of the *.csv file in the attribute table of the *.shp file. Please keep in mind that all the added field are threatened as string values. But in following video you will not only see the described steps above but also how to transform string values to keyfigures / real numbers:
[youtube http://www.youtube.com/watch?v=g4KqFQFSPe8&w=560&h=315]