
When working with raster datasets, it is hard to keep an overview of the raster files in use and their coverage. Most raster data providers may keep metadata in the filename itself, like path, row and a timestamp. But for more convenience, it is possible to create an index of your raster maps. This article will show you, how to accomplish this in QGIS or with the Terminal.
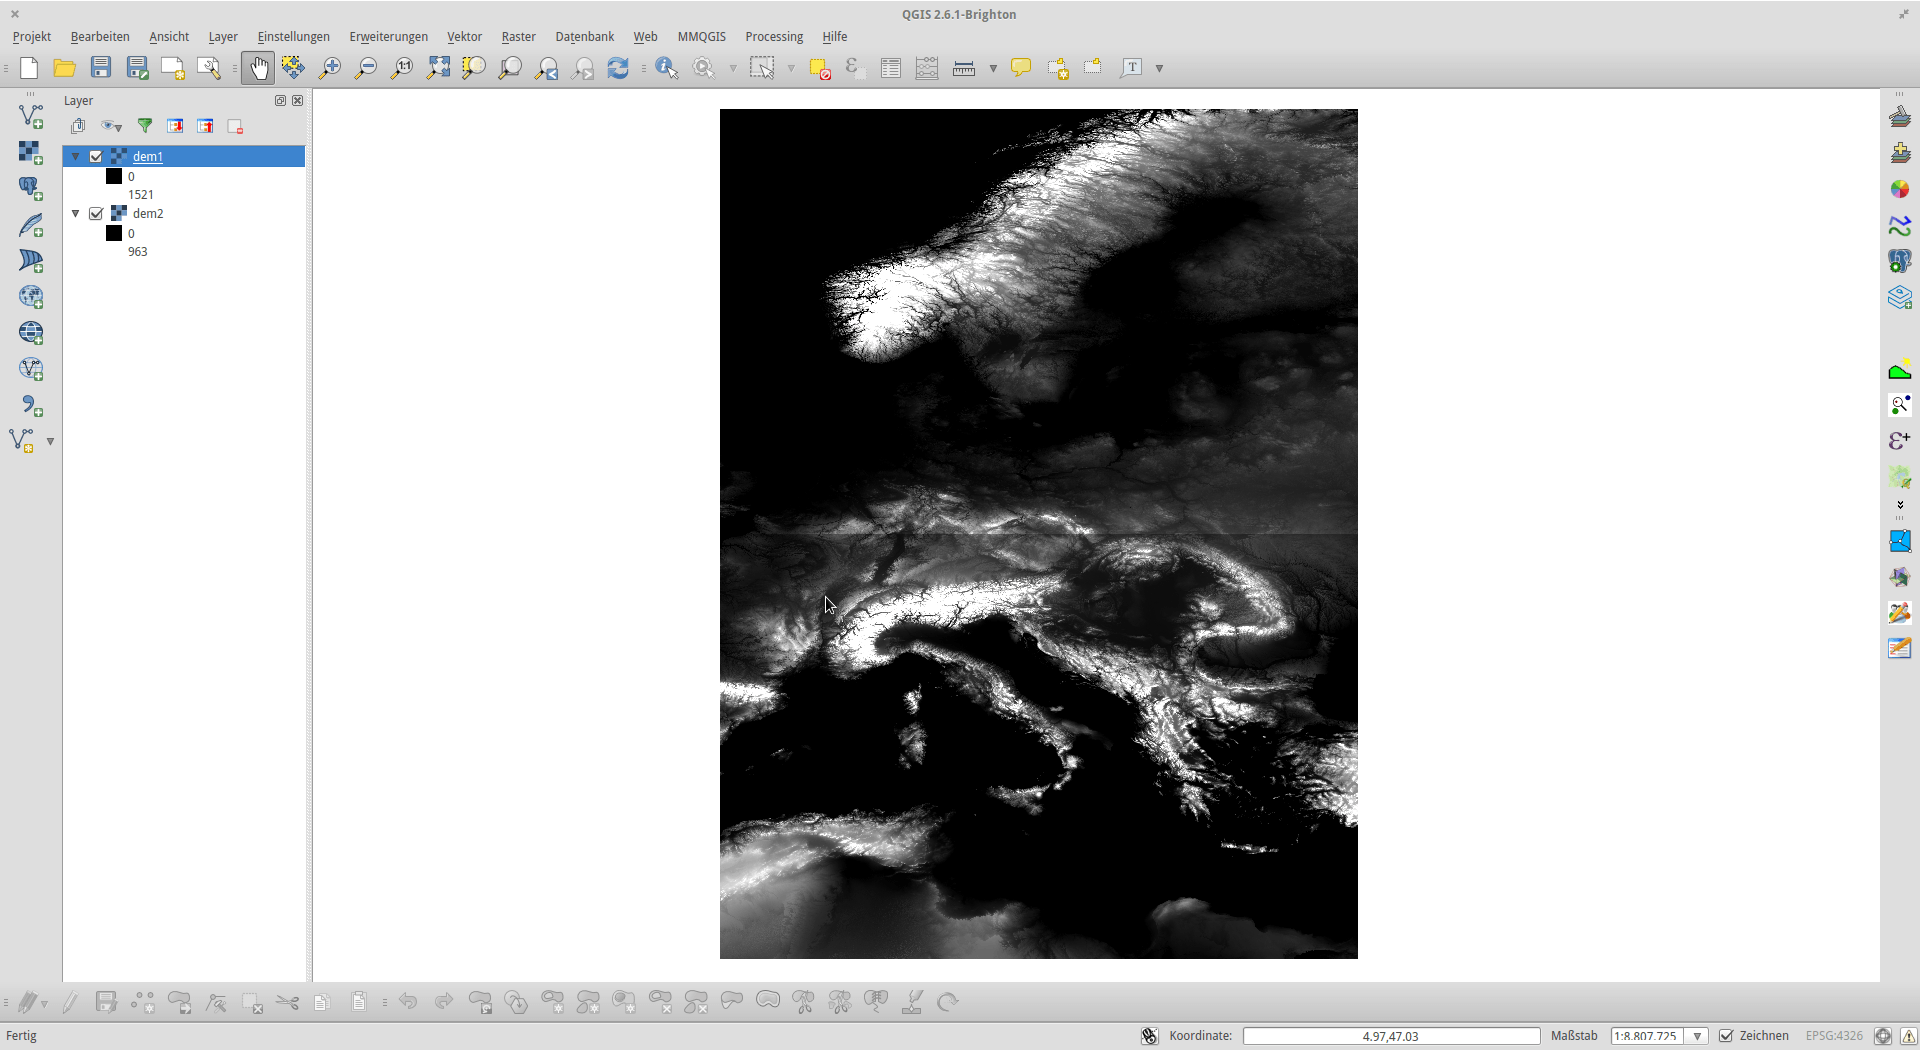
First of all, we need some raster layers. GDAL is capable of reading most of the common used remote sensing formats, so this should be no showstopper. Just load your data into QGIS. In the following screenshot, you can see two digital elevation model scenes.
In the next step, go to “Raster” > “Miscellaneous” > “Tile Index”.

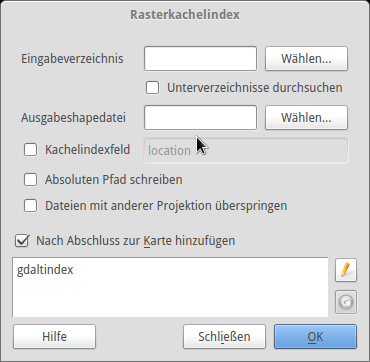
In the Tile Index menu, you can now choose an input directory and eventually subdirectories for GDAL to look for raster datasets. If you have your datasets across different folder on your filesystem, you can even index each of them sequentially by running the programm several times and choosing the same index file. If the index file already exists, GDAL appends the new data instead of overwriting the old ones. Additionally, you can provide a name for the attribute holding the filesystem location in the shapefile to be created.
As soon as you created the Tile Index and loaded it into your project, you can see a polygon for each of the raster datasets that you indexed. For better visualization and overview, go to the layers style settings, disable the filling, and choose a contrasting color and increased width for the border.
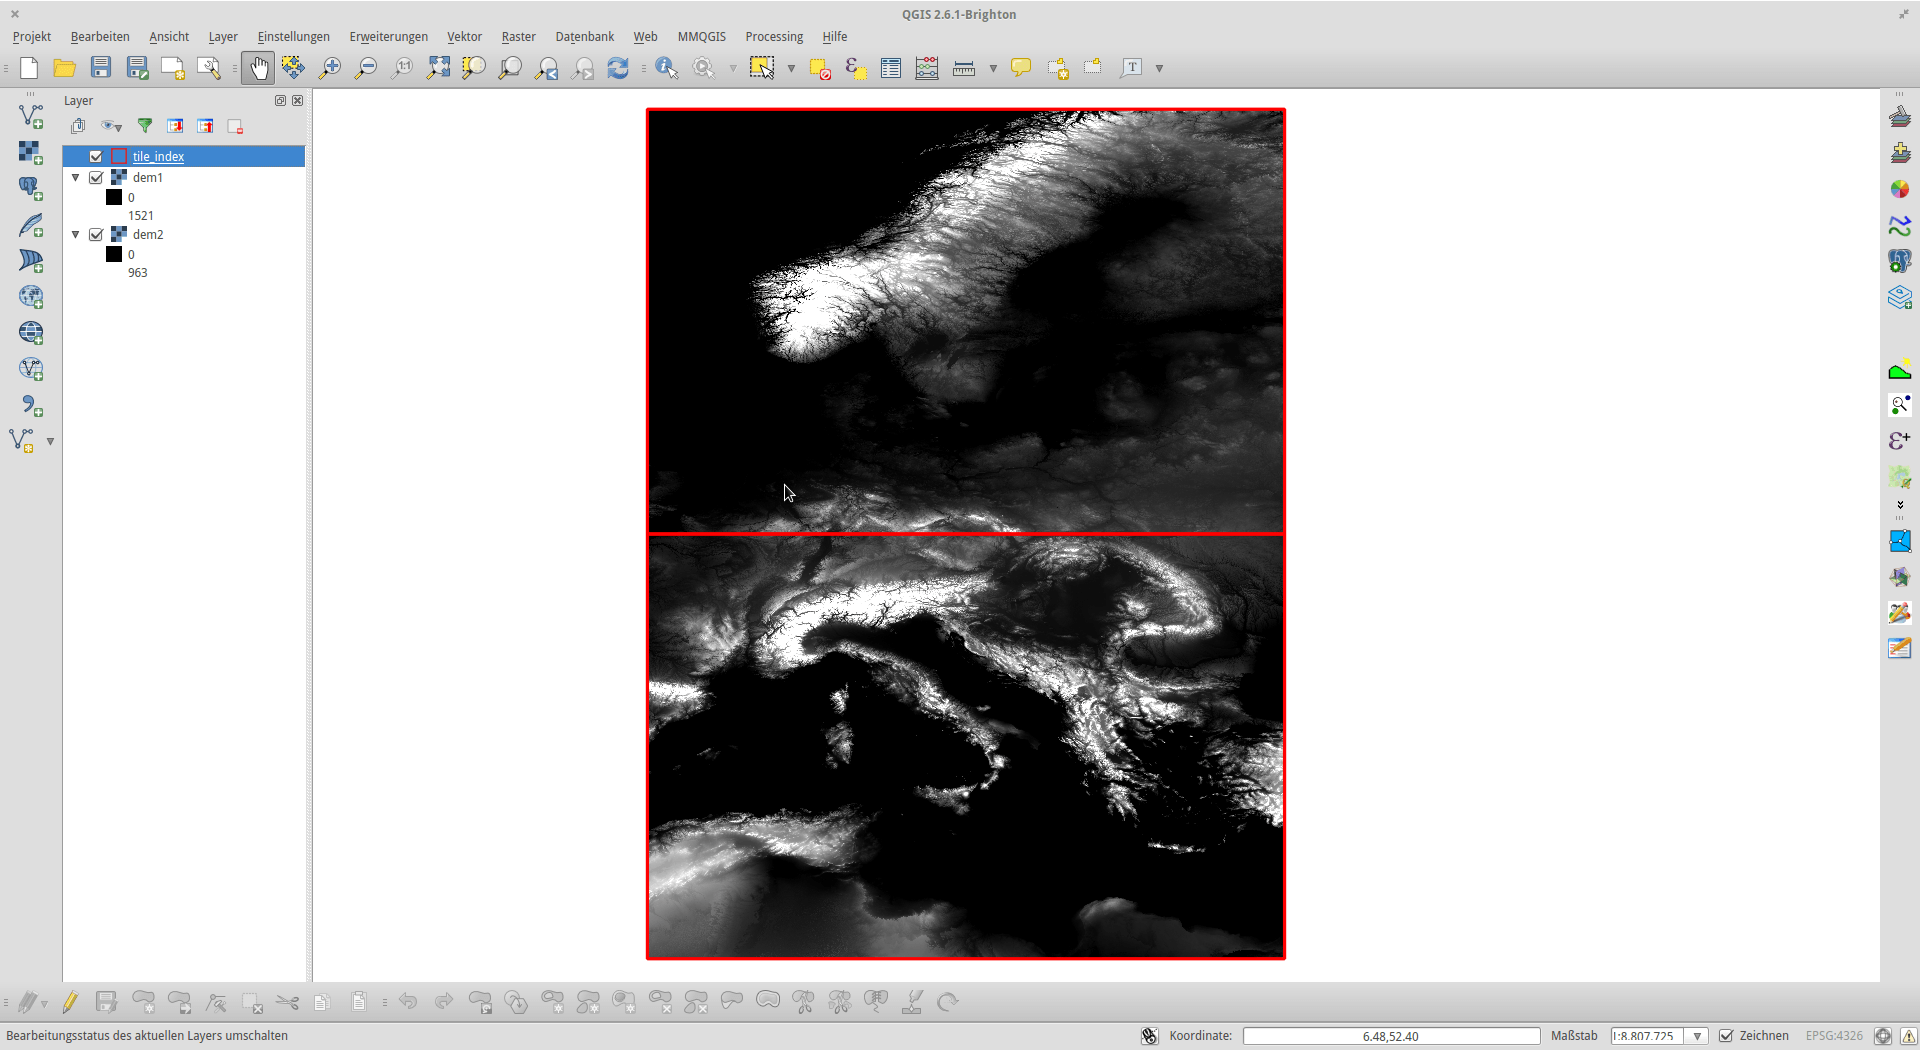
To get the most out of your newly created tile index, you can even set up labeling for the index polyons. For this purpose, go to the labeling settings of your index layer, activate labeling and choose “location” as labeling attribute. Additionally, I recommend applying a small buffer of e.g. white around the labels, for better readability. The result should look like this:

Did you know that GDAL also offers a command line tool for this? If you like scripting your workflows or generally prefer the terminal over a GUI, you can create a Tile Index like this:
gdaltindex index.shp input_directory/*.tif

do you have an english version of the qgis tile index creation menu to match the rest of the article?