The new Mapbox Studio was unveiled and we want to give you a first tutorial to master the installation, understand the GUI and create your first map.
What do I need?
- a webbrowser to download Mapbox Studio
- a shapefile
Steps
- What is Mapbox Studio?
- Download and installation of Mapbox Studio
- Discover the GUI
3.1 The left menu bar
3.2 The main map frame
3.3 The coding and styling area - Creation of a first map
- First conclusion
1. What is Mapbox Studio?
First we have to bring to light what Mapbox Studio is about. Some years ago Mapbox developed the famous “Tilemill”, a tool to create raster background tiles and interactive webmaps out of georectified vector and raster data. The main advantage of tilemill is, that you can style your map with the css-like script language called CartoCSS. Mapbox Studio is a new Tilemill with a bunch of new features and the focus on the vector tile format, which is the modern data type for displaying webmaps (e.g.the new GoogleMaps relies on vector tiles). The new features (cited from Mapbox) are:
- instant streaming access to massive global datasets like Mapbox Streets, Mapbox Terrain, and Mapbox Satellite
- converting data (Shapefile, GeoJSON, KML, GPX) and upload it directly to Mapbox to deploy your vector tiles at scale
- 300 pro fonts included
- full control of the visual impact of your maps by leveraging aerial imagery, textures, and compositing effects, built directly into the Mapbox Studio style editor
- every Mapbox Studio project adapts automatically to HiDPI and Retina displays making it possible to design maps for multiple screens and devices at once
- prepare print-ready images of your maps at up to 600dpi using the image export UI
So I think now it’s enough of talking, let’s explore Mapbox Studio.
2. Download and install Mapbox Studio
This point is very easy. Just follow these steps:
- Go to Mapbox
- Click the download button (it’s available for Win, Linux and OSX)
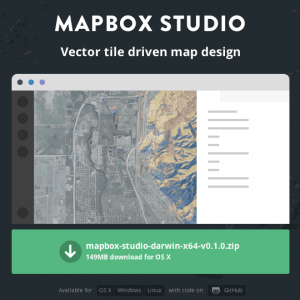
Click the button. - Follow the install instructions.
- Start Mapbox Studio
- Connect with your Mapbox account or do the registration (yes, that’s necessary)
3. Discover the GUI
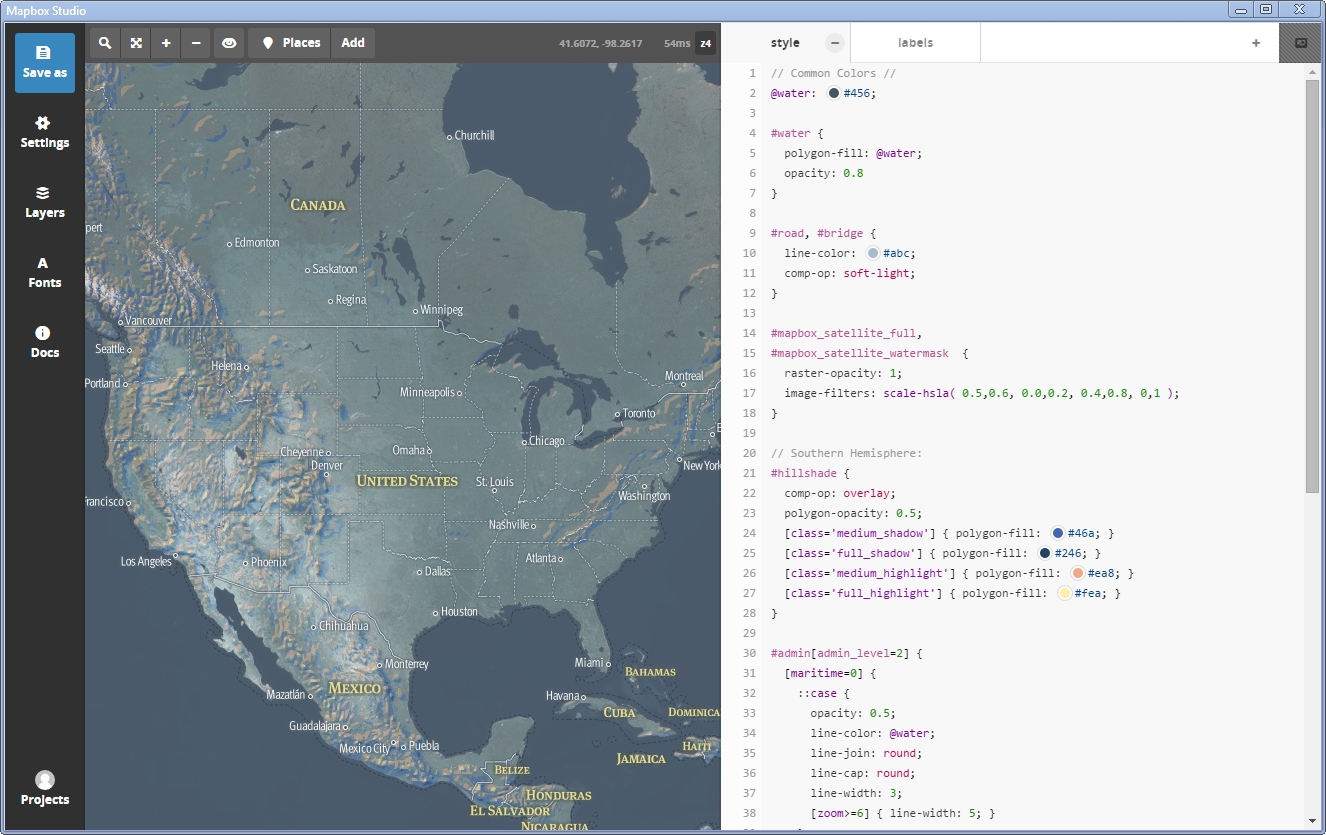
After the installation and first start you can choose a predefined style or create your own by clicking “Blank Source”.
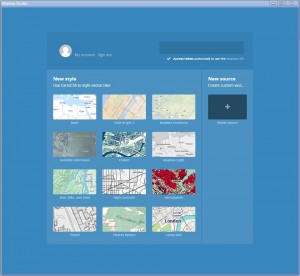
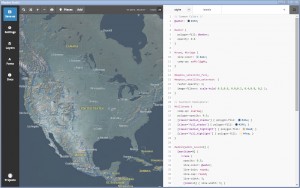
We’ll start with the prebuild style “Satellite Afternoon” to discover the GUI.
3.1 The left menu bar

This menu bar provides all operational settings of and for your project. You can:
1. Save your project as style on your local machine an upload it to Mapbox, if you want to publish the map on the net
2. Settings define the project name, give it a description, choose your preferred image format and the min-max zoomlevel
3. Layers list your used vector layers and shows their namespaces for styling rules in the CartoCSS part
4. Fonts gives you a general overview about available fonts for labeling your map features
5. Docs provides a full CartoCSS and MapboxStudio API and command description – this time with examples
3.2 The main map frame
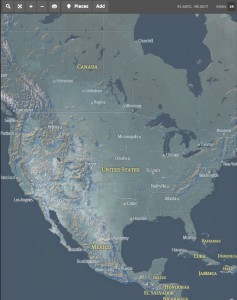
The map window in the middle of the GUI shows your current styling result. Here you can zoom and pan your map through the different zoomlevels and switch to certain “Places” which are defined test areas. A very neat idea of Mapbox, because this was a bit wiry in Tilemill.
3.3 The coding and styling area
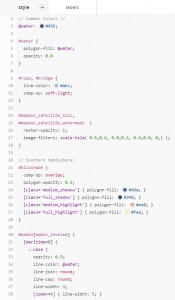
This GUI section allows you to work on your style code (CartoCSS). You can divide your coding in certain .mms-sheets like you can see on the top (“style”, “labels”) and style your data by using its namespace in combination with some CartoCSS code. We will talk about details in a following tutorial.
4. Creation of a first map
After discovering the main GUI elements, I will now create my first Mapbox studio webmap with only a few clicks. More details about creating webmaps with Mapbox studio will follow in the next tutorials.
Here are my steps for that easy first map:
- create a blank project
- add a new layer and import it
- look at nice auto-styled preview
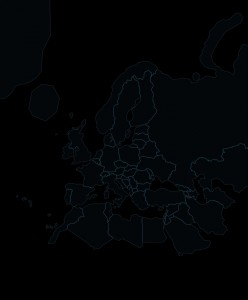
auto-styled Mapbox data import
- save the project, click on “create style form this source” and upload the data to Mapbox
- now click on “make style from source” and voilá – we’re in the editing mode
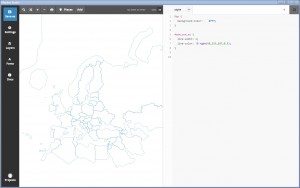
editing mode - Exporting this style to Mapbox, in order to get it as a vector tile webmap, requires their “Standard Plan” which we don’t have.
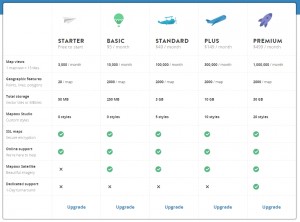
Mapbox Plans
5. First conclusion
Mapbox studio is a nice tool which improves the good old “Tilemill” in many points. That Mapbox force their users to upload their data and pay a lot of money for Mapbox studio connection is sad. Of course they have to earn money, but providing a great tool which is useless for starters isn’t a nice way. Mapbox, please give starters one Studio style for free. Until then the community have to look what can be done with the free output format .tm2z. Please comment if you have a good idea!


I’m guessing the .tm2z is a format that you host and serve on your own?
from reddit:
The .tm2z format is nothing more than a gzip compressed folder
containing a mapnik style sheet and a pointer to a tilejson endpoint for
a vector tile (.pbf) data source. These are both open source
standards. I am actually in the process of building a tile server that will be able to host .tm2z styles. The tools are coming – just give it a bit of time!
link: http://www.reddit.com/r/gis/comments/2gjr1c/mapbox_studio_tutorial_1_installation_gui_and_a/
One Studio Style for free plans added! https://www.mapbox.com/plans/